
Setup Checklist
Welcome to PrevailHQ!
Follow this guide to set up your organization account!
Before Continuing:
- Sign in to your PrevailHQ account here <https://app.prevailhq.com/employees/sign_in>
- Download and sign in to the PrevailHQ mobile app. This app is only available for users with managing permission and can be used to manage the system from your mobile device.
- Download and sign in to the ConnectHQ mobile app. This app will be used by all the users in your organization.
Use your desktop for the steps listed below.
1. Build Your Roles, Groups, and Any Additional Locations
Roles
Go to Your Name > Settings > Roles.
We provide six default roles for your convenience:
- + Admin (recommended for users managing the company's use of the system). Permissions for this role cannot be modified.
+ Case Manager (recommended for site managers at specific locations or users that are going to only need to access the Case Management system) + Climate Manager - (recommended for executive-level team members that will manage work climate organization or department-wide). + Incident Responder - (recommended for people who will be receiving alerts from Threat Radar and managing Incident Response). + Manager (recommended for the team, group, or shift managers to have access to their team information). + Basic (Users who are only using the mobile app, and submit information to the organization. These users do not have access to the PrevailHQ web app.)*Please note: Different preset roles might be visible depending on the products purchased.*
If your organization needs additional or alternative roles, you can customize roles by using the Edit button or create new roles by clicking Add Role. For a step-by-step guide on the permissions listed, see our Roles and Permissions Page.
Groups
Groups can be created in two ways: upon employee automatic import or manually via your settings ( Your Name > Settings > Groups).
Groups are your way to further classify employees based on your organization's structure. As a placeholder for Departments, Groups allow for flexibility and help to add security features to allow certain admin users to see their assigned employees.
Once you have created a group, you will see it within your Employee Information.
It is strongly recommended to select a Primary group for each user to reflect accurate data on the reports.
See more information on Groups here.
Additional Locations
You added your organization location while creating your account. You can edit that information at any time or If you have multiple locations, you can add locations by going to Your Name > Settings > Locations.
Click Add Location and enter the following information:
- Name (only required field)
- Address
- City
- State
- Zip
- Country
- Time Zone
- Contact Email - all replies to system emails will go to this email
- Capacity Tracking
- Geofencing Setting
- Then, click Create Location to save!
For a more comprehensive guide to setting up your locations, see our Locations page.
2. Load Employees
Your next step is to add your employees to the system. This can be done via the employee CSV bulk import, HRIS/SFTP integration, or individually with the Add Employees button.
These 3 methods below are recommended when importing a large number of users:
- Learn how to set up SFTP integration here.
3. Select your Organization Settings
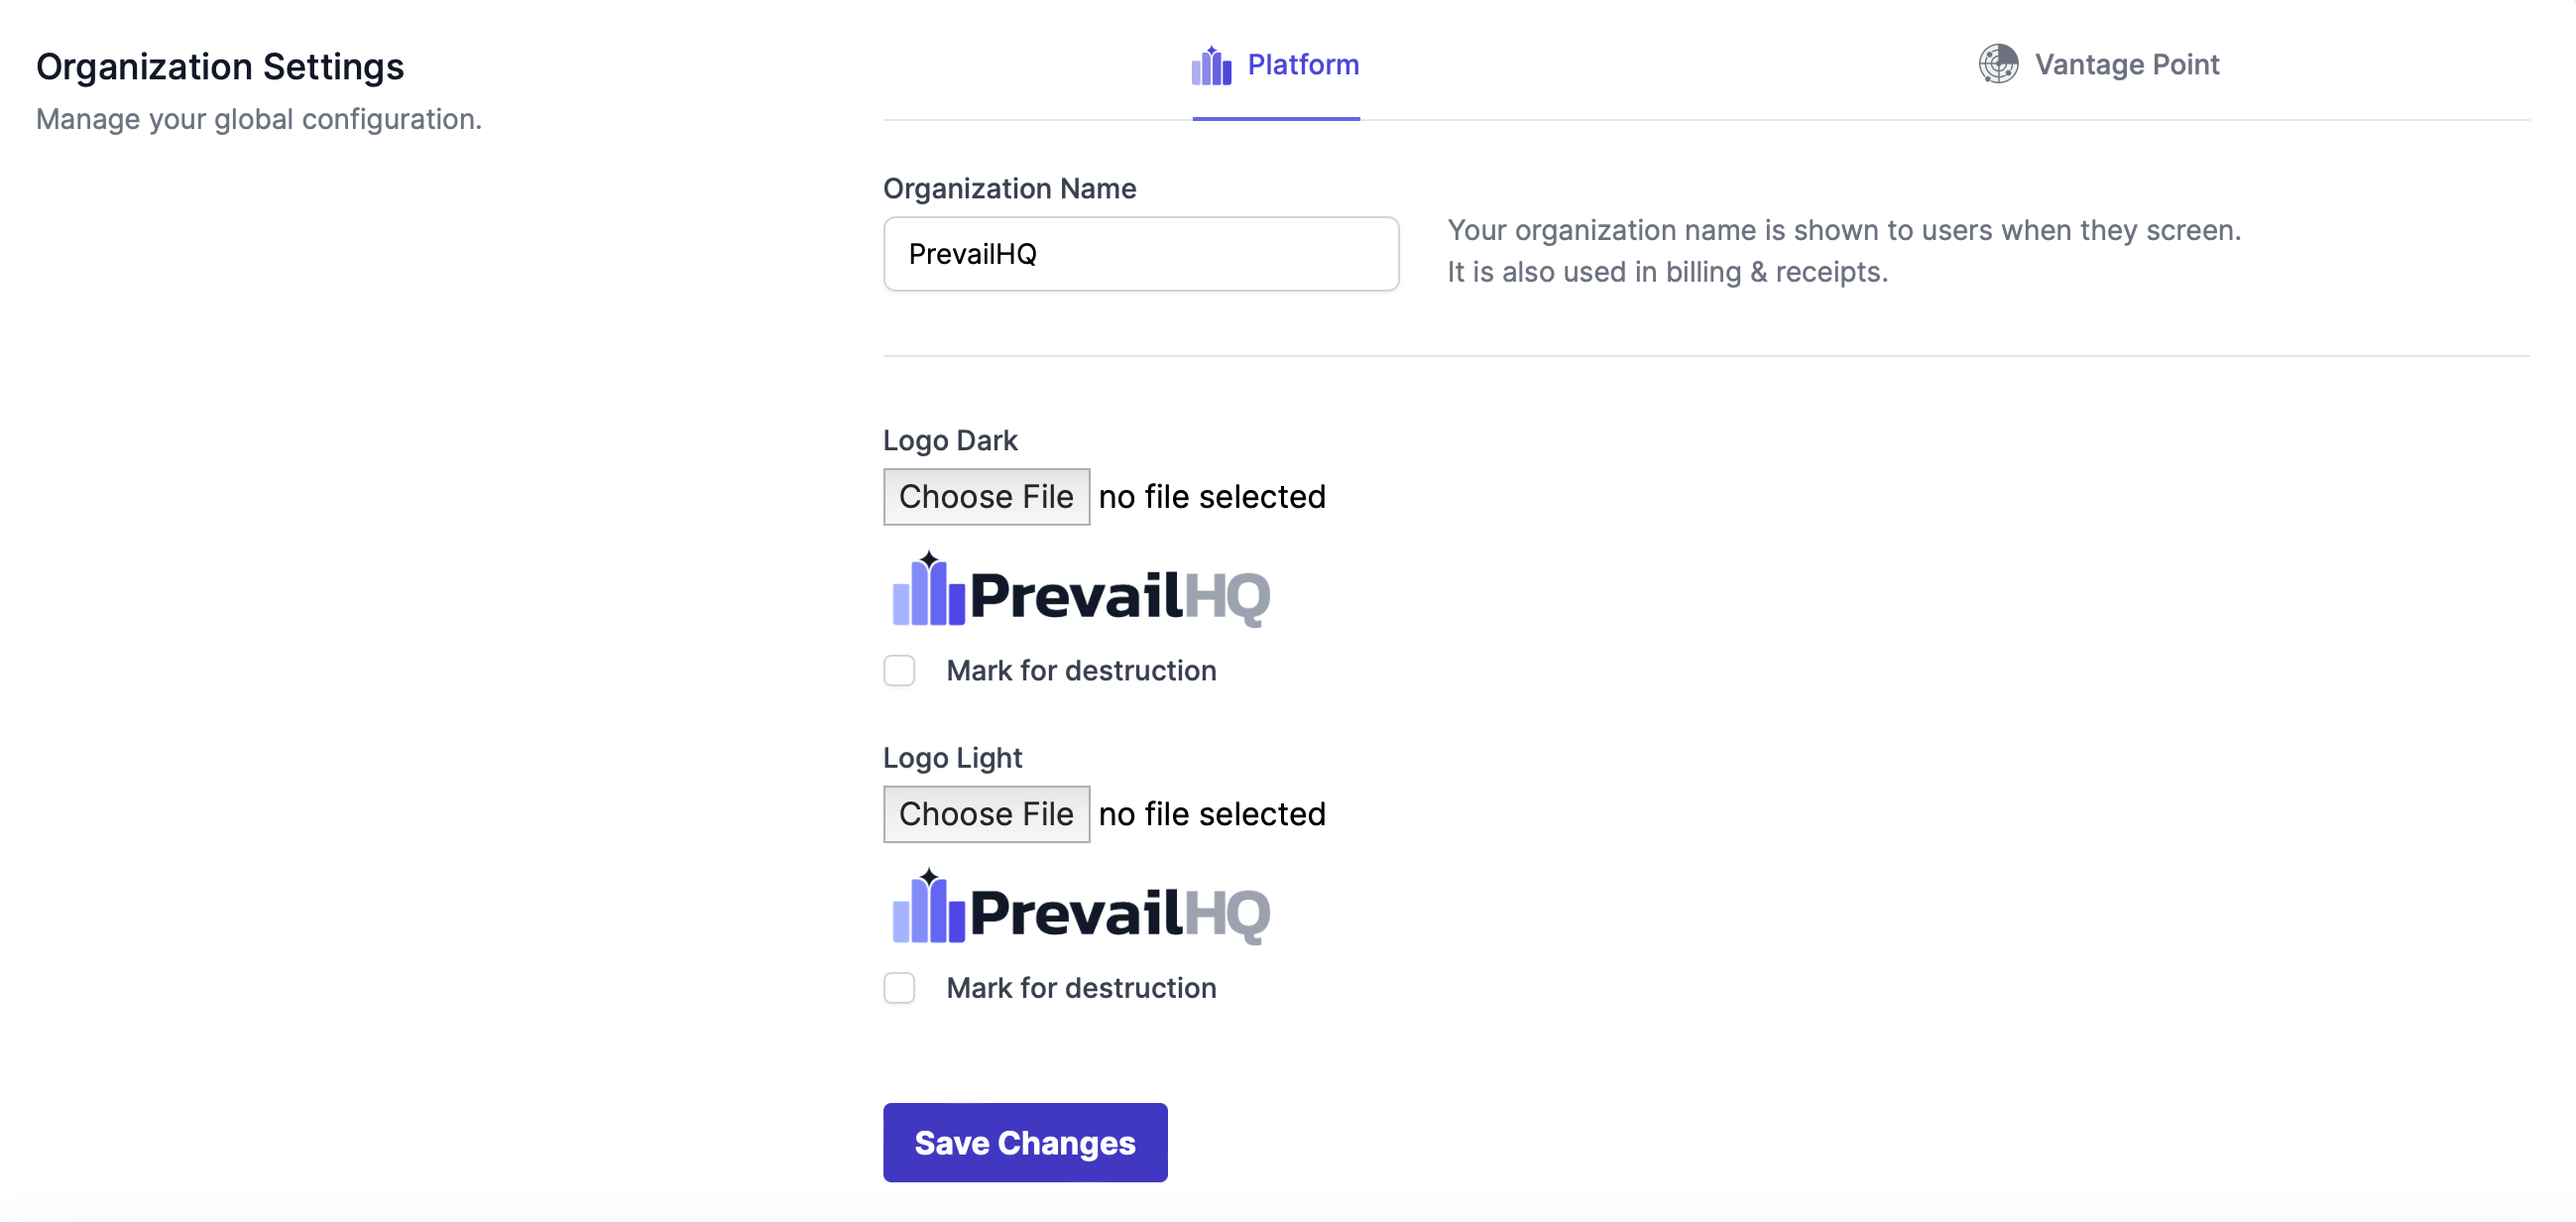
Go to Your Name > Settings > Organization Settings.
Here you can select the functions that you can activate for your Organization account.
Switch between different modules on the top of the page (Platform, Apex Vision, Vantage Point, Work Climate and Clear To Go) to apply the required settings.
Please Note: Different modules will be visible depending on the product purchased.
Admin users of the organization have access to the full list of organization settings. These can be adjusted at any time and caution is recommended, as any changes will affect all users in the organization.
For a step-by-step guide on the Organization Settings listed, see our Organization Settings Page.

4. Select your personal settings.
Users with access to the Prevail HQ web platform and Prevail HQ mobile app can use the Personal Settings Page to adjust notification settings, set a backup for when they are absent, or change the password. Personal settings need to be adjusted individually for each user. Learn more about personal settings here.
5. Follow the links from the table below to set up the required functionality based on the product purchased.
| | | --- | | Vantage Point | | Disruptions and Incident Management | Learn how to minimize the impact of workforce disruptions with simple, active, everyday management. | | Work Climate | | | Work climate | Learn how to manage your internal work climate and stay on the same page with your employees. | | Apex Vision | | Managing Absences | Learn how to manage absences and stay on top of employee availability. | | Managing Staffing Levels | Learn how to keep operations on track with active management of your staffing levels. | | Clear To Go | | Compliance | Check who’s following the rules for entering your workplace—and who isn’t. | | Reservations | Manage a hybrid office environment and require users to make a reservation before coming on-site. | | Vaccination and Test Results | Streamline management of employee vaccinations and testing. | | Screening | Screen all employees and visitors before entry to your buildings. | | Roll Call | This page is a 24-hour view that is used to check in on the status of your users as they arrive throughout the day. | | Visitor Management | Make visitor scheduling, screening, and compliance easy. | | General This cross-system functionality is available regardless of the product. | | Case management | Create and manage different case types to support HR, operations, compliance, and security needs. | | Announcements and Questions | Learn how to stay connected to your people with fast, easy communications. | | In/Out (Team Status Board) | Allow teams to communicate where they are going to work to optimize collaboration. | | Data management | Learn about data management, export, supported data formats, and data retention. | | Reports | Use multiple reports and dashboards within the system to see data summary and analysis for the features used by your organization. |
6. Inform Your Users
We strongly recommend that you notify your users that they will start receiving notifications from PrevailHQ. For your convenience, we provide a template email for your users, that can be copied into a document editor or email and manipulated to fit your needs.
For employee users, see this template.