
Creating Locations
To navigate to your Locations page, go to Your Name > Settings > Locations.
By default, one location is created with the name of your organization, based on what was entered when creating the organization's account.
Set-Up
To create a new location, click "Add Location."
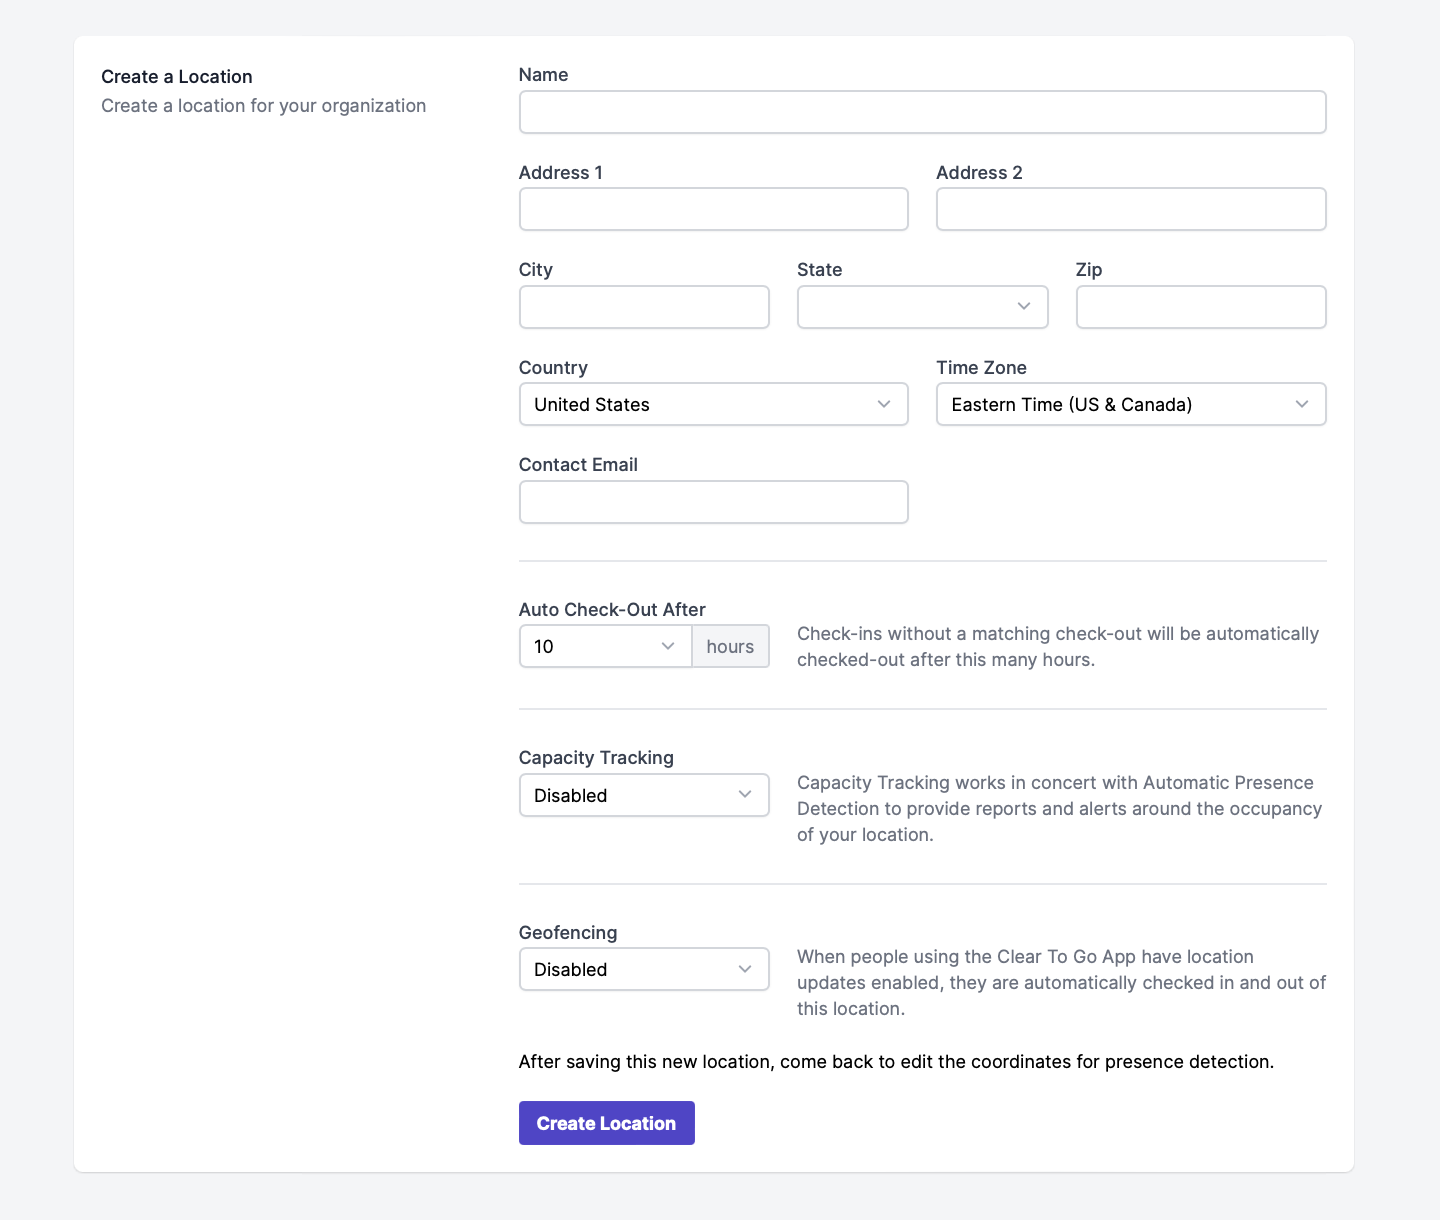
Enter the information below
- Name (only required field)
- Address
- City
- State
- Zip
- Country
- Time Zone
- Contact Email - all replies to system emails (i.e. announcements, vaccination/test results rejections, etc.) will go to this email
- Auto Check-Out
- Capacity Tracking (see our guide)
+ Enabling this will open the Location Capacity, Alert Threshold, and Notification List settings
After these settings are selected, click "Create Location." Alternatively, if you are editing an existing location, click "Update Location."
Geofencing
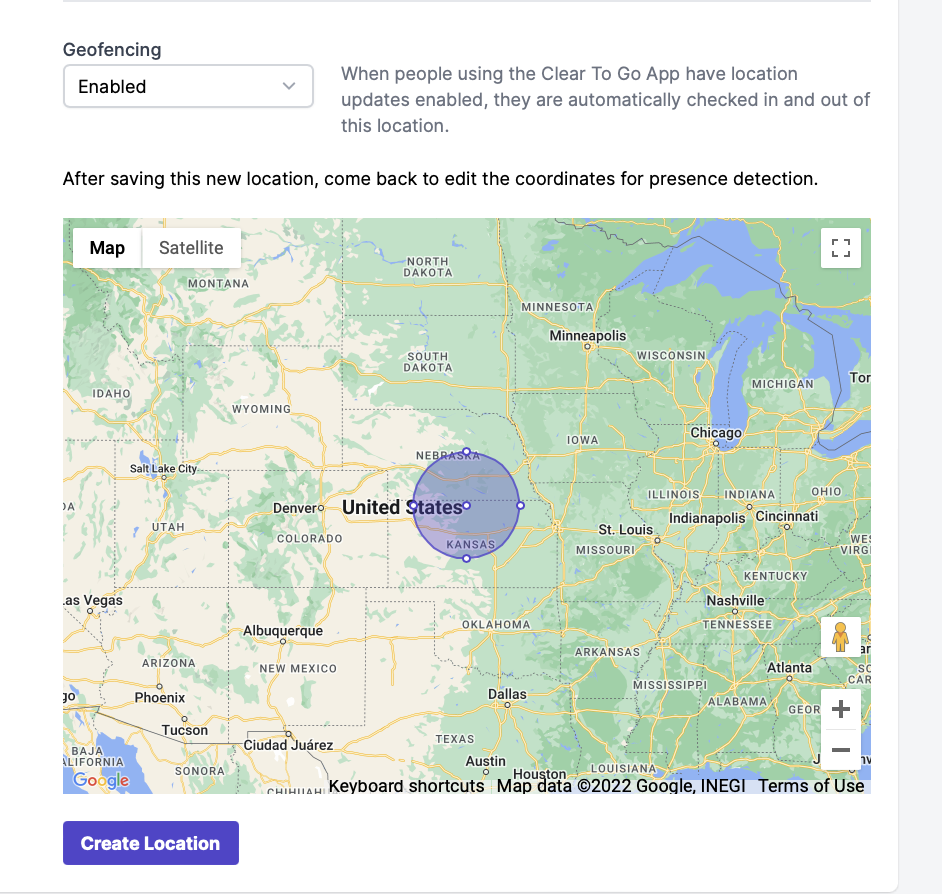
If Geofencing is enabled, select "Edit" for that location and select an area around your site. This will be the area your users will be automatically checked in/out of, upon entering/leaving.
Once an area is selected, select "Update Location" and assign appropriate users to their appropriate locations.
Learn more about Geofencing here.
Do you need to add more than 20 locations?
Please fill out the "Example Location Import" form below and email it to support@prevailhq.com along with your account name.