
Case Types
To see this feature, head to Your Name > Settings > Case Types.
Here you can create and manage different case types to support custom workflows of your organizations, such as HR, operations, compliance, and security.
From inside the Case Types page, you can add Case Types or edit the default one given.
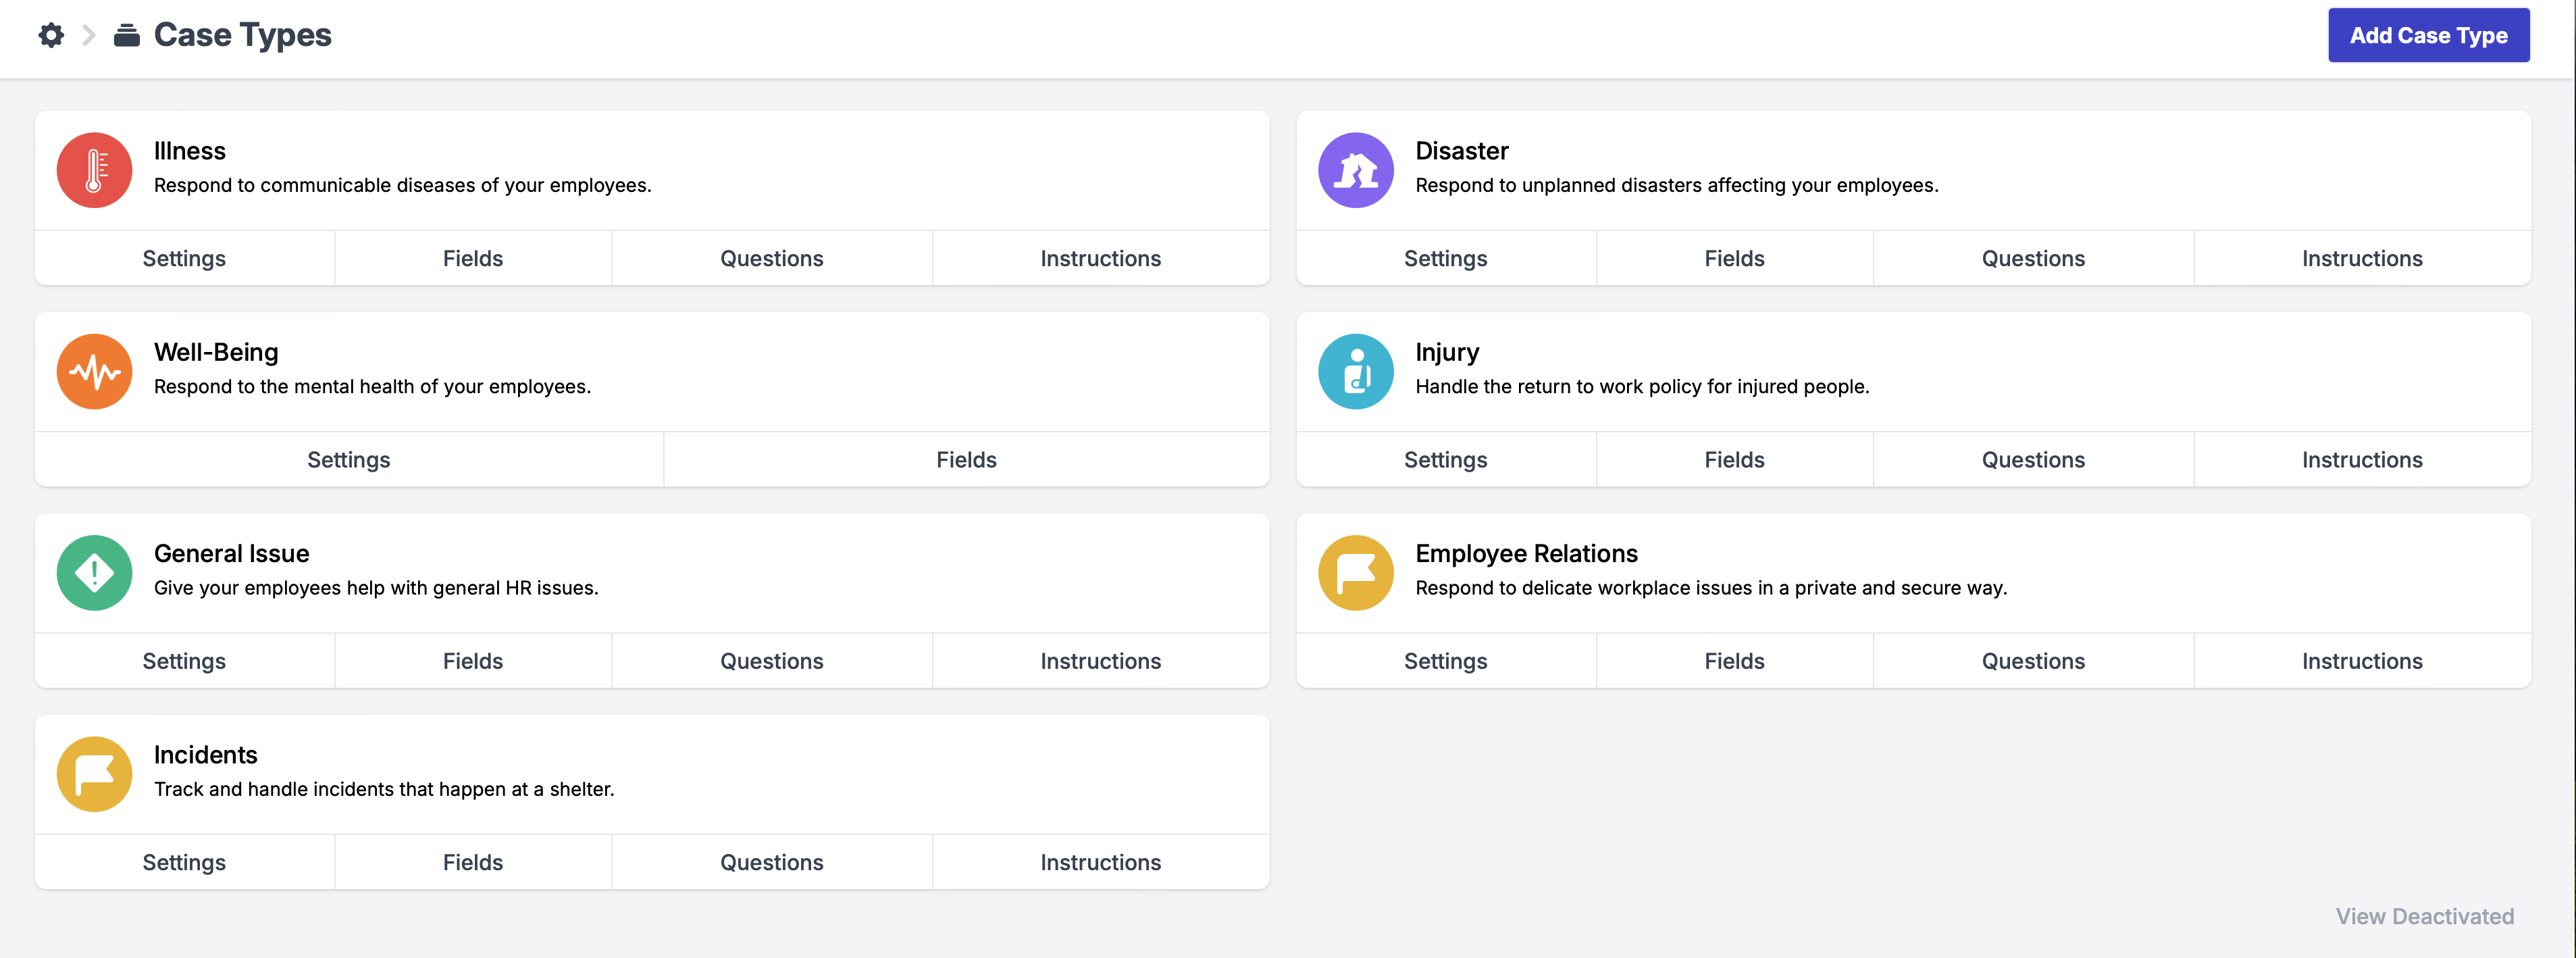
Settings
At the top of the page, you'll see that you can give a name and description for your viewing purposes within the Case Types page.

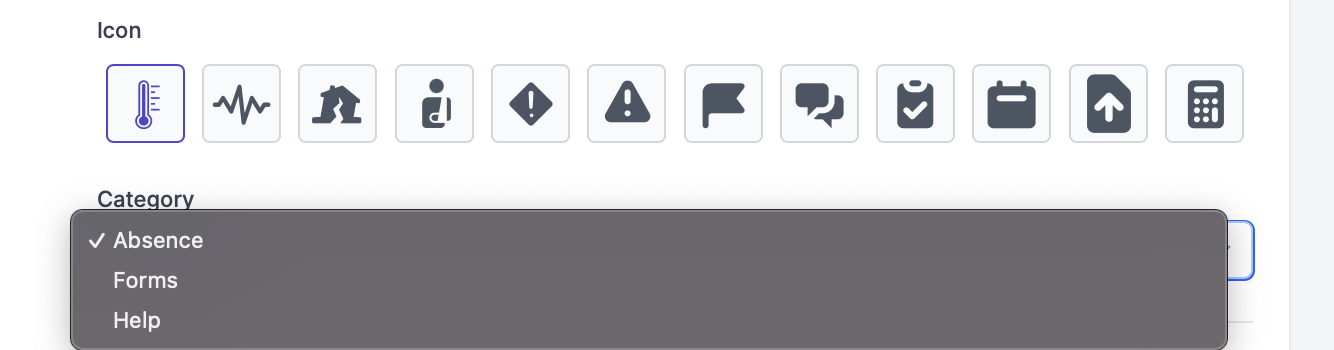
Then, you'll be able to choose an icon for the Case Type, as well as choose the Category type from: Absence, Forms, and Help.
Further down, you'll be able to manipulate more settings that will directly impact the app and how your users are going to use this feature.
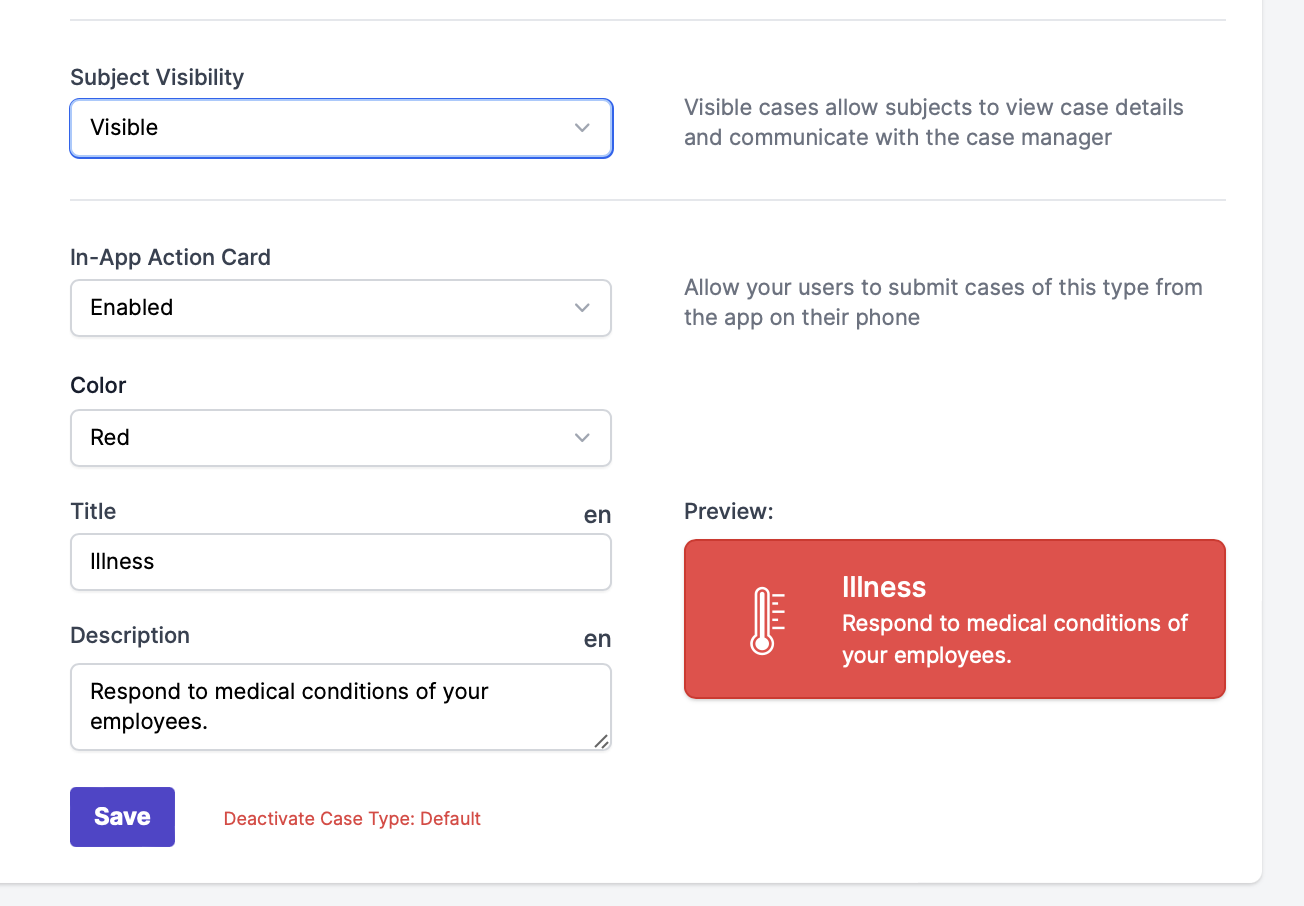
Subject Visibility
If you have this set to "Visible," your users will be able to view their case details and communicate with their case manager.
In-App Action Card
Similar to the illness reporting feature used previously, enabling this will allow your users to report and submit cases on their own, without needing to fail a screening.
Color, Title, and Description
These are what your users will see in the app. You can make them the same as what you titled and how you described the button as what you will have at the top of the page, or you can make those something more meaningful to your users. There are several button colors to choose from, to help mitigate any confusion from your users.
Then, save your changes, and you'll be taken back to the main Case Types page.
Fields
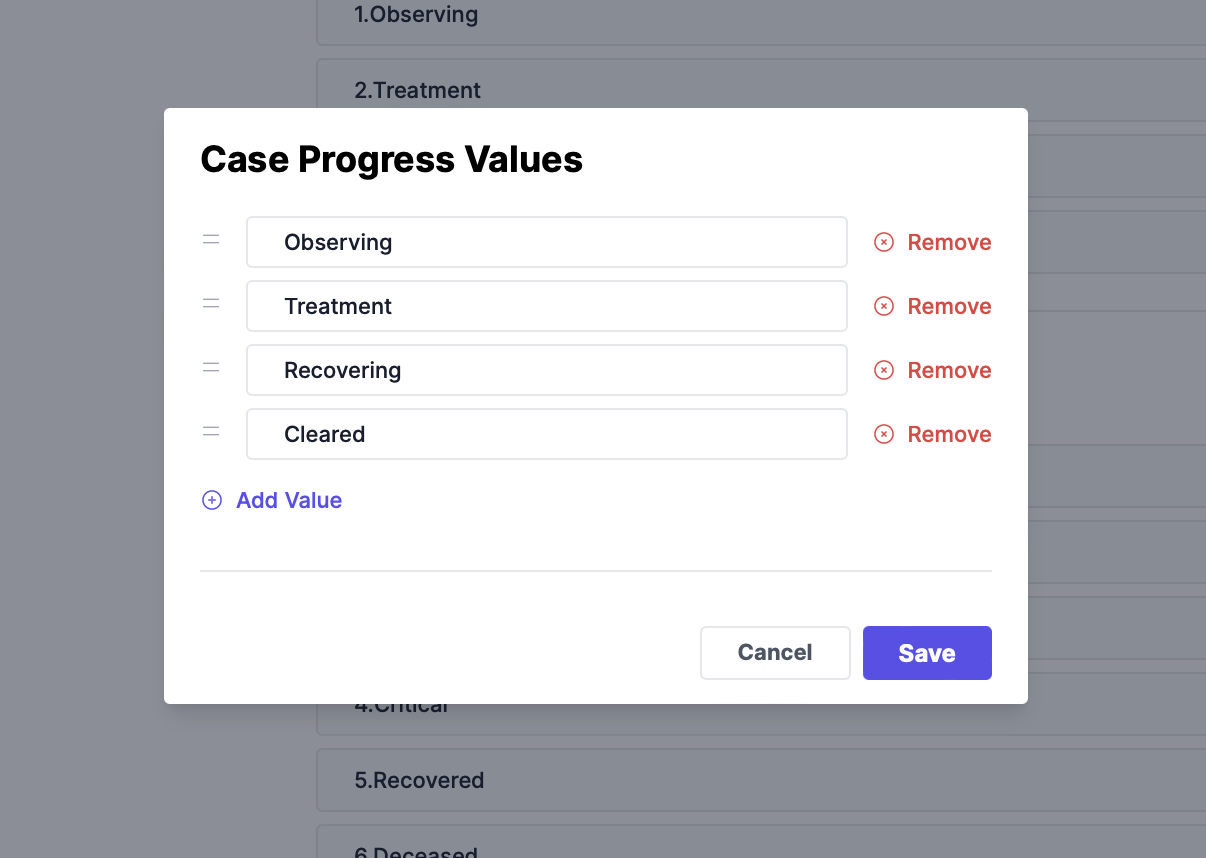
In this tab of your Case Type, you'll see several Case Fields to manipulate. These are what will be updated in the case, under Cases. You can toggle these fields on or off, and edit what can be selected when in the case.
If you're looking at the default Case Type, these fields should look familiar, as they are what you will typically see within a user's open case.
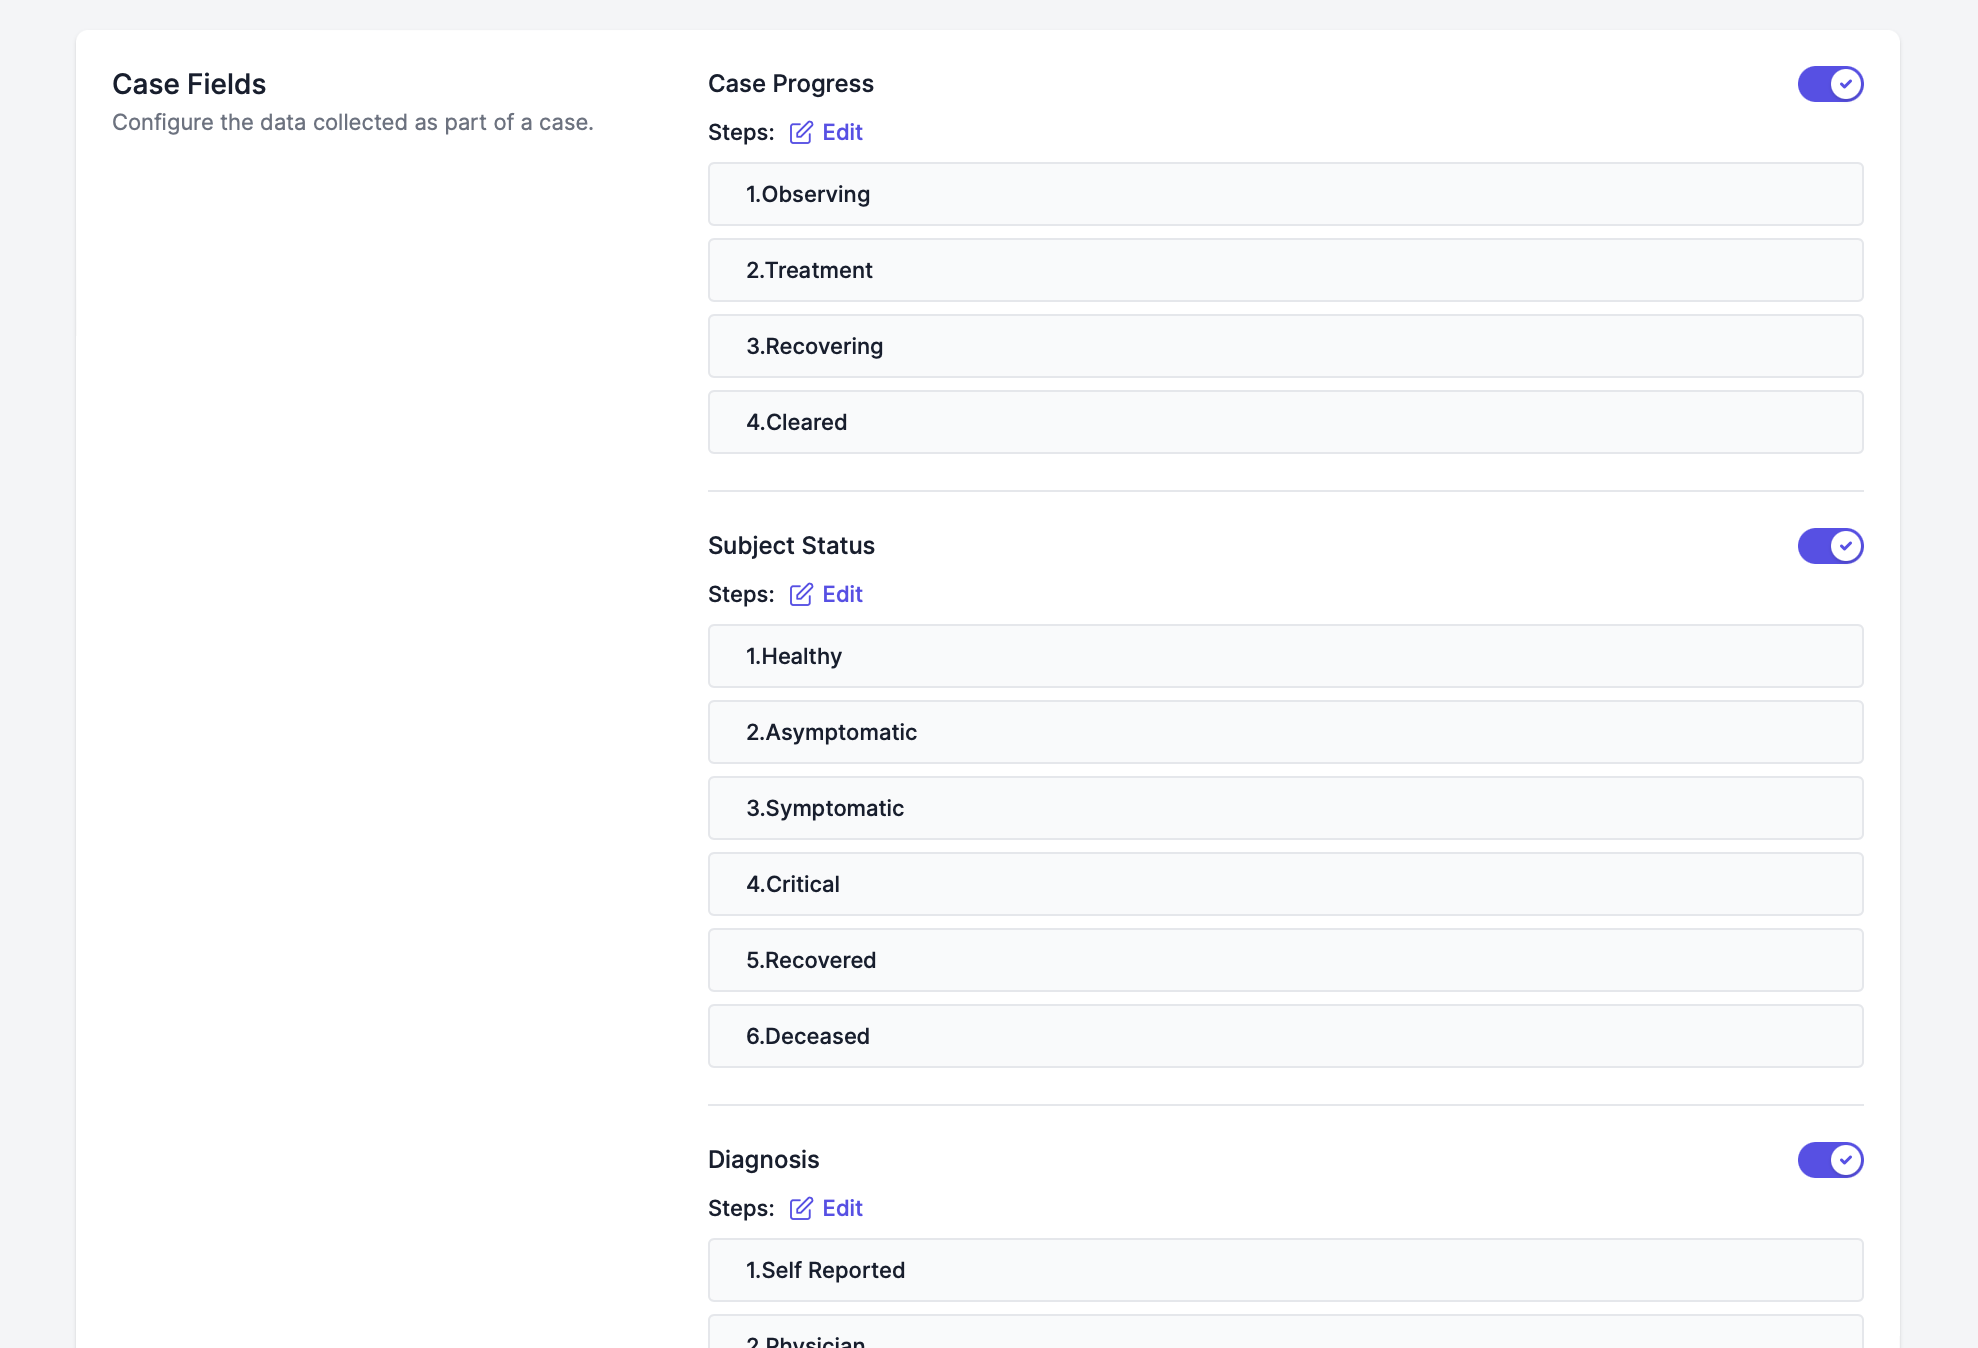
To edit the options to select of the Fields, click "Edit" next to any "Steps." Then, you'll be able to add, remove, or change what the options say. This should be reflected within a relevant case, after saving changes.
Questions
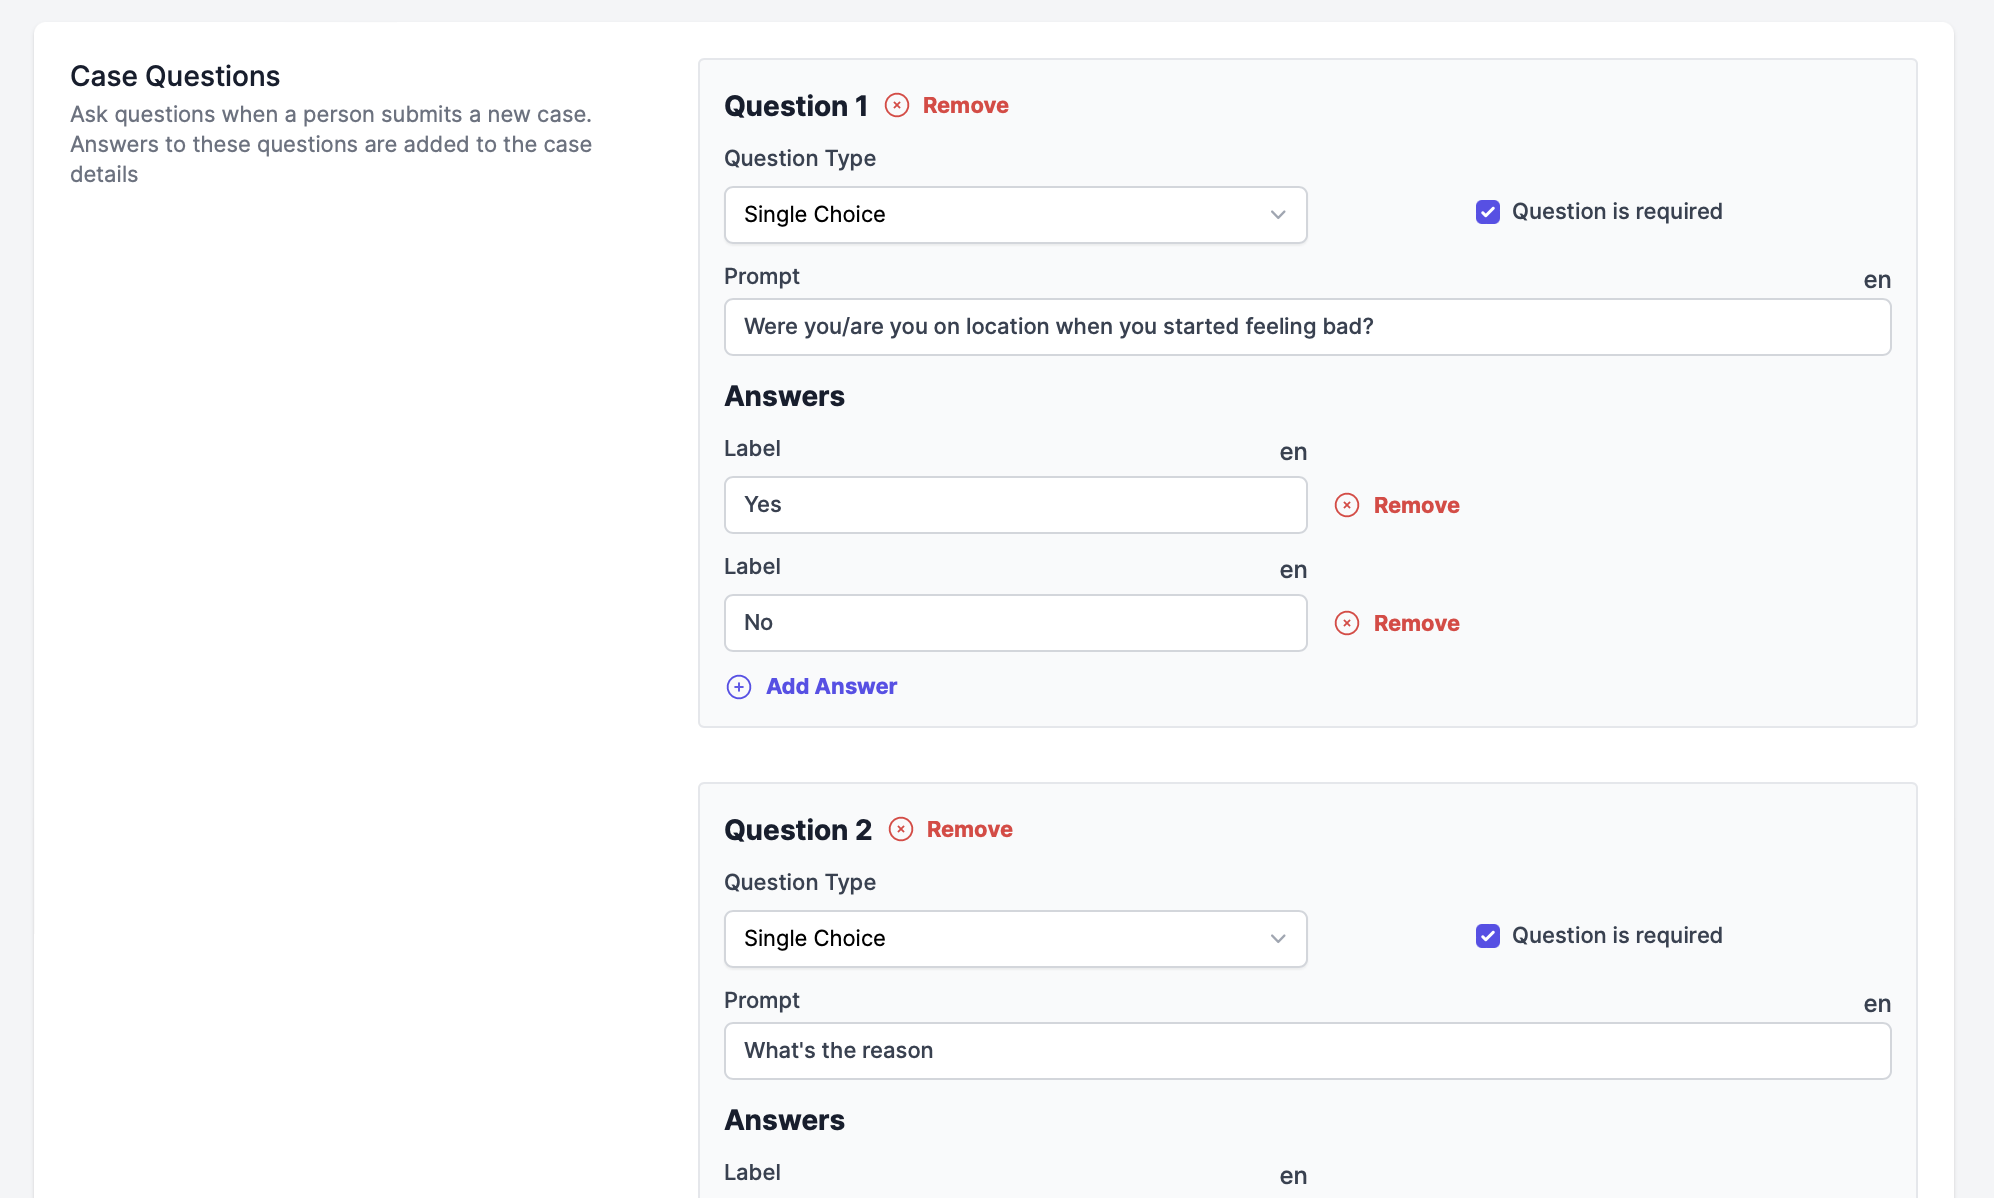
The next tab available on the Case Type is the Questions tab. This should also look familiar to you if you are currently using illness reporting with your users.
These are the default questions for illness reporting and can be manipulated similarly to the Screening Questionnaires and can be marked as required. However, there are two key factors to these questions, especially when comparing to the screening questions:
- Questions do not need to be manually where directed to go upon answering, as all of the questions should be displayed when users are entering information.
- Question order cannot be manipulated, similar to the screening questionnaires. If you need to add a new question between existing questions, you'll need to remove questions coming after the new one.
- i.e. I need to put a question between 1 and 2. I need to remove 2 and any questions after 2 in order to place a new question after 1.
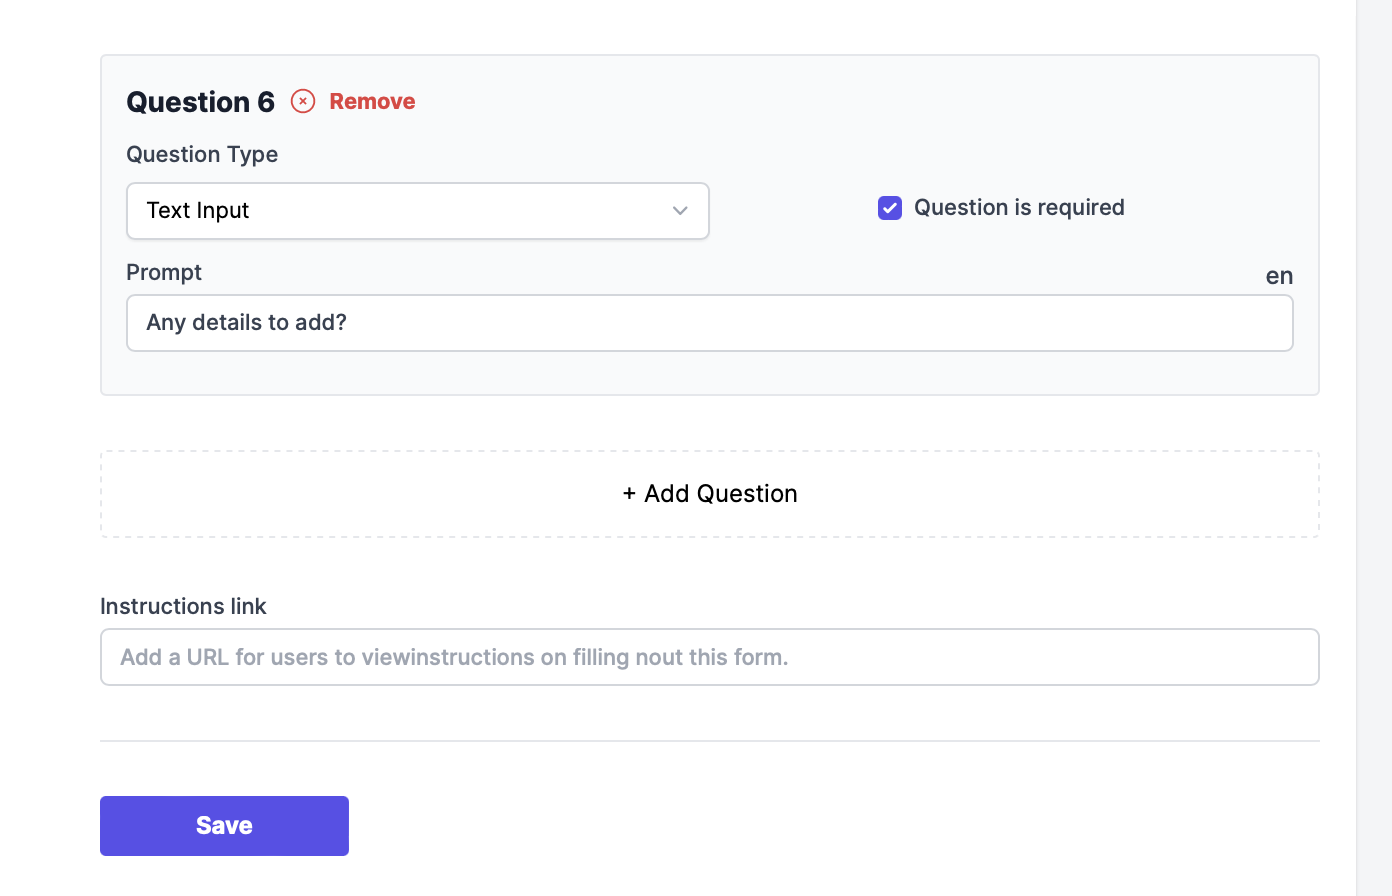
At the very bottom of the questions, you'll see that there is a button to add a question, as well as a text box to enter a link. Here, you can enter a link from your organization to provide instruction or further details on this questionnaire.
Instructions
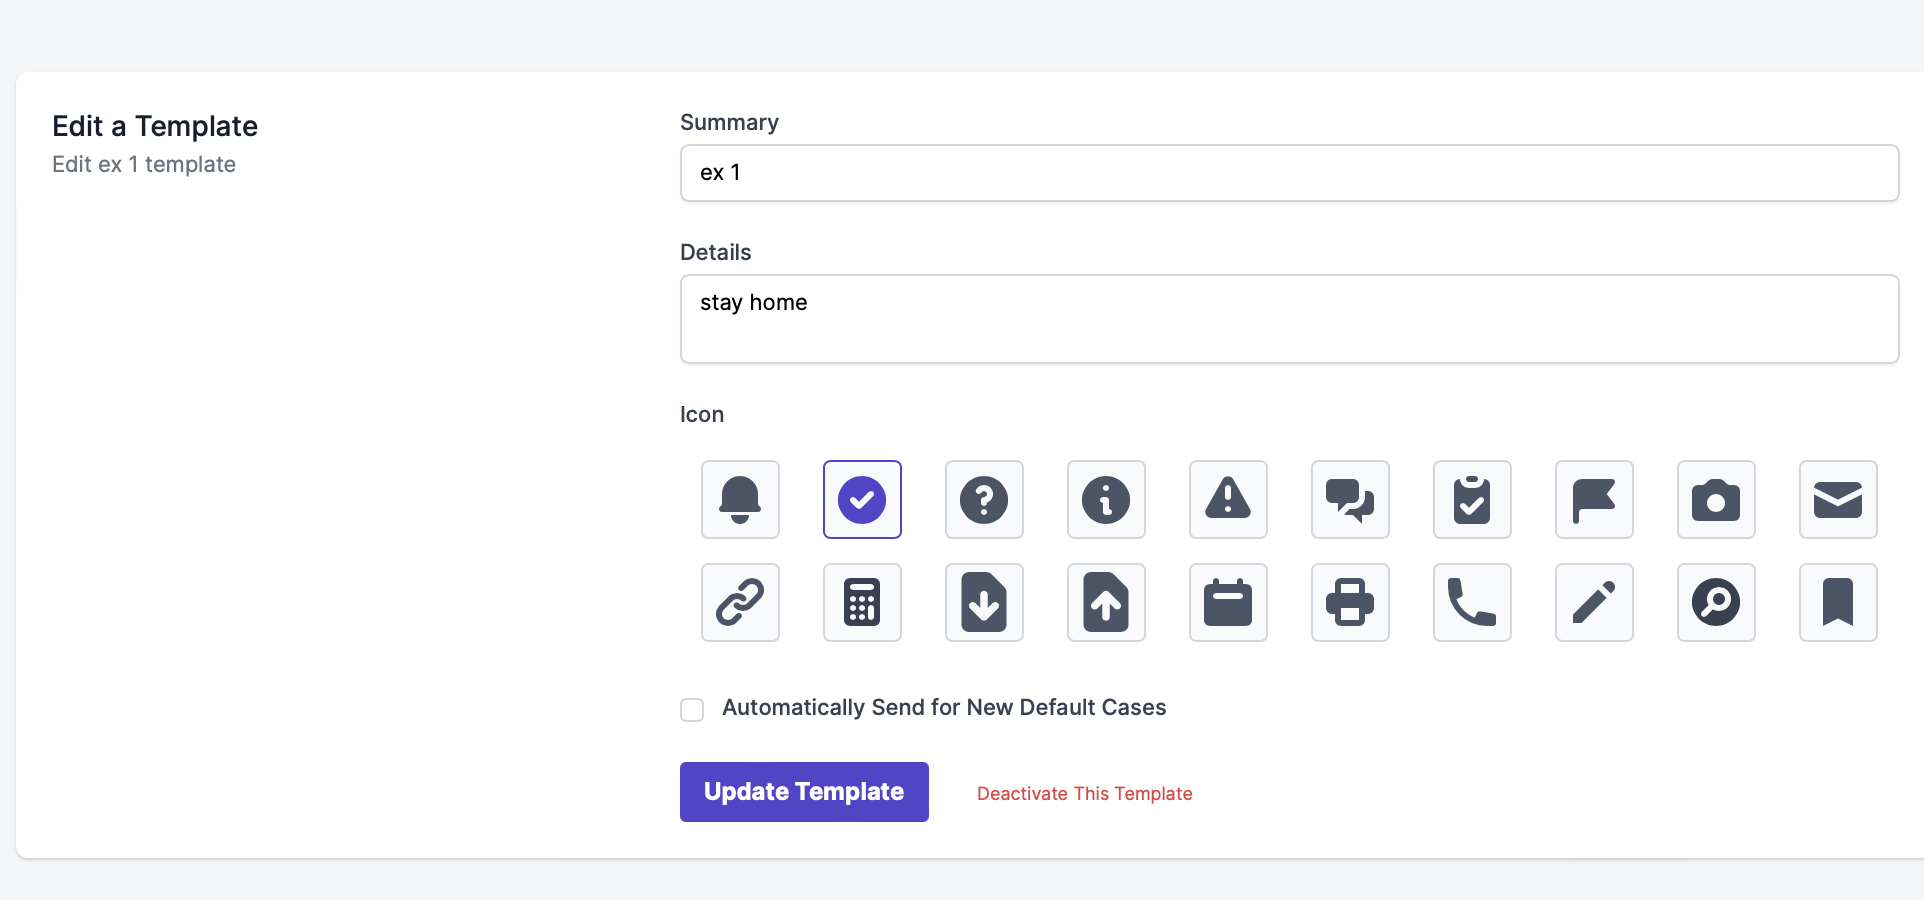
The last tab on the Case Type is the Instructions tab. This will lead you to a list of existing Case Templates to attach to your Case Type, to serve as next-step instructions for your users. We recommend making a Case Instruction Template to go alongside your Case Type. You can either do this on this page directly, or by going to Your Name > Settings > Case Templates.
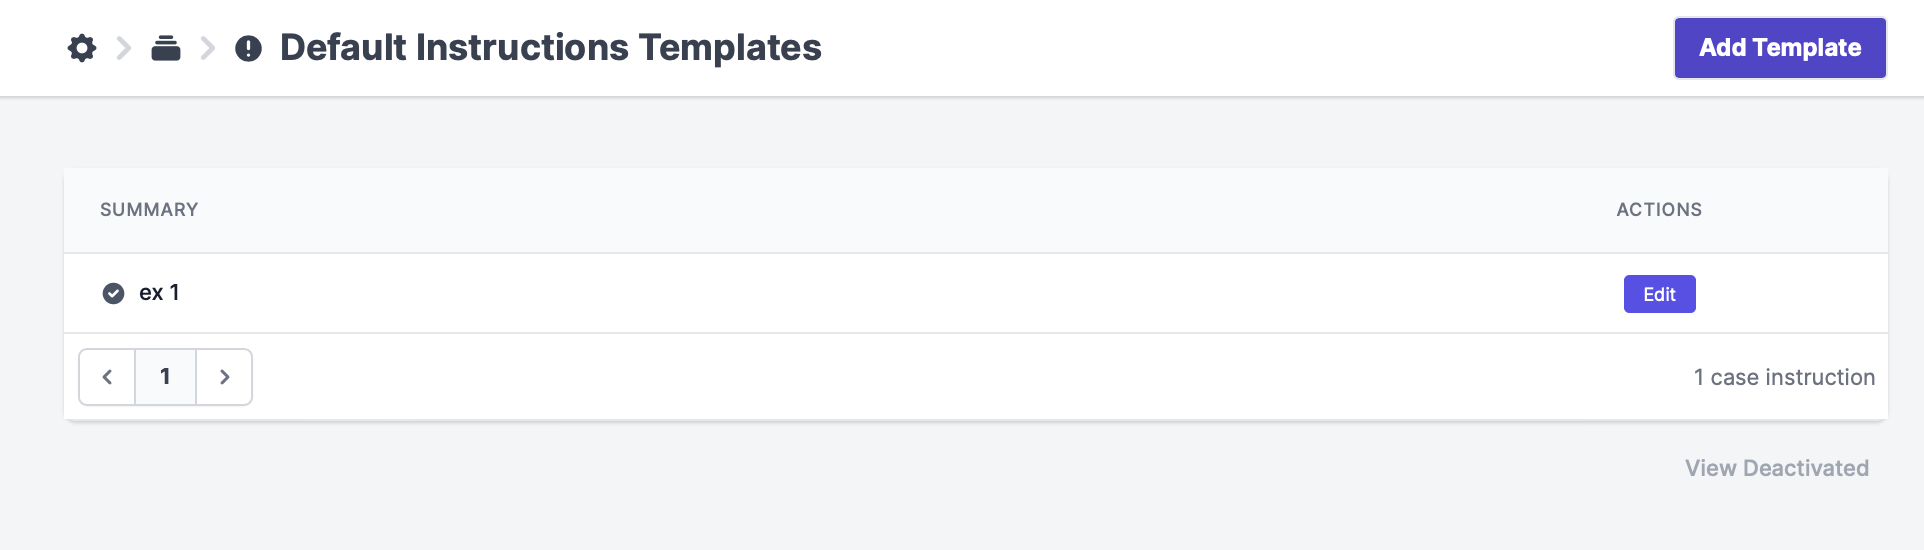
When you click "Edit," you'll be able to change any existing information, deactivate the template, and set the instructions to automatically be sent out when a user submits a report via this Case Type.
Once updated, your users should be able to see the new button within their app, and they should be able to start reporting via this new Case Type.