Groups
Separating your users into groups is an excellent way to classify them, based on your organizational structure. It serves as a replacement for departments and allows additional flexibility for your screening and compliance requirements.
Note: Non-Basic users who do not have the following permissions enabled will only be able to see the information of users at their same location and/or group.
- All Employees
- All Locations
- All Groups
If you would like a Non-Basic user to see their team and their team alone, we suggest not enabling those mentioned permissions, so they do not see anyone outside their team.
Groups can be made either via the import function or by creating them individually via the Groups page.
Using a CSV Import:
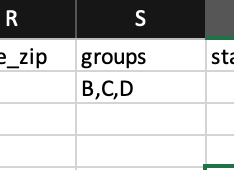
You'll need to pick a name for your group and add it to the "Group" column on the template provided for importing users. If you'd like to add a user to multiple groups, simply separate with a comma (i.e. "Sales, HR, PR, Marketing").
**The first group entered will be assigned to the user as the Primary Group.**
Please ensure that your groups match exactly as they are written across all your users - otherwise, there will be multiple groups of similar names made in error.
Individually Creating Groups:
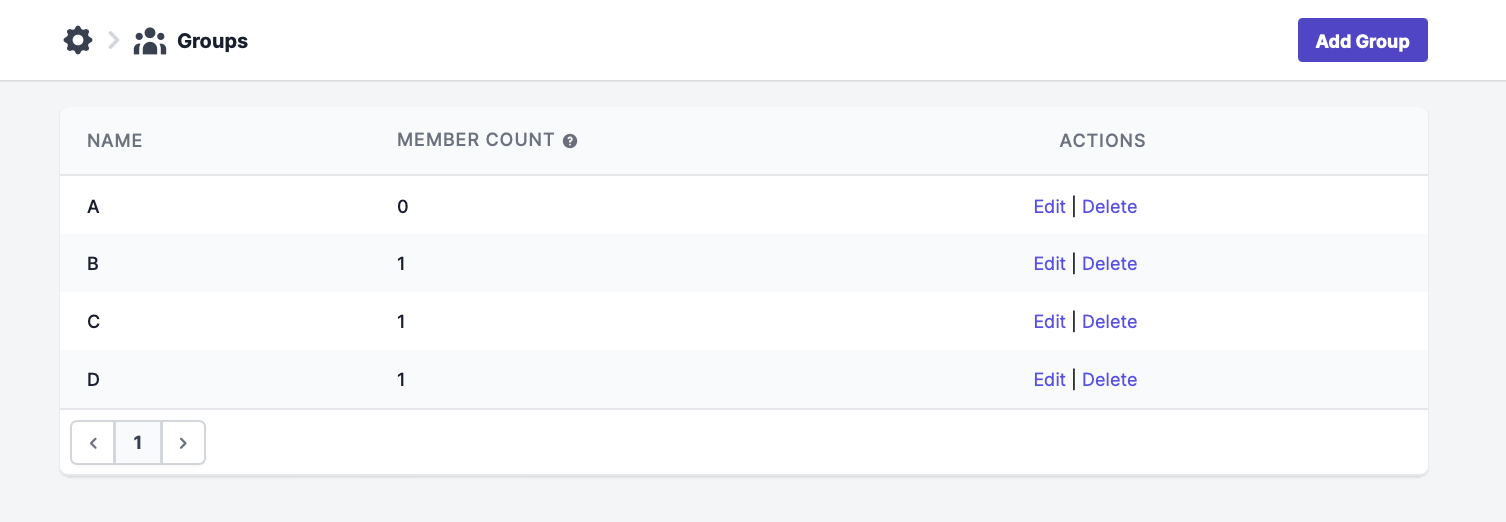
First, go to Your Name > Settings > Groups.
On the groups page, you can create a new group or make edits to an existing one. Select "Add Group" to create a new one.
Create a name for your croup, and then click "Create."
Once the group is created, it can be seen under user information, under the Groups section of their profile. You can enable as many groups as you feel necessary, and then click "Update Employee."
Primary Group:
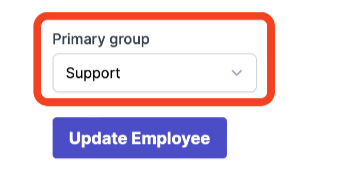
The primary group can be used to identify the department users are working in.
It is strongly recommended to select a Primary group for each user to reflect accurate data on the reports.
The first group entered with the bulk import will be assigned to the user as the Primary Group.