
School Account Setup
Before you start setting up your student and employee information, be sure an account is active for your school(s). Also ensure that a sufficient number of seats have been licensed for your employees who are going to screen and/or access the website. Adding additional seats can be found via: Your Name > Settings > Billing.
Then, please contact support at support@cleartogo.co to enable students.
Employee & Parent Communication:
Inform your users about the new process:
- Employees that will be screening need to be made aware of the new daily requirement. The first contact from our system will be a notification to screen. Prior to implementation, we highly recommend your organization contact all employees describing the following:
- Push Notifications via our mobile app (please see our guide on how to use our app)
- Receive an SMS text message (students / parents do not get this method)
- Receive an email
Daily Required Screenings:
- To answer these questions, there are three methods:
- Notifications are sent in order of presence. If we detect they have the app we send to the app. If no app is detected, we try to send an SMS text message. If SMS text message is not available, we send an email.
- Please be sure to notify your parents/guardians of this change. We do not send an email before the consent form. Here is our recommended example email.
Parents/guardians also need to be aware that their student will be required to complete the screening. Once a student is added to the system and the adults' info is include for that student, an email is sent to them asking them to set the preference of consent. For more information on this, please see:
System Set Up
- Log in to app.cleartogo.co
- Create the necessary Locations and Groups
- Decide which employees will be assigned which roles in our system
- Decide what questions should be asked and what directions should be given to them, should they fail the screening
- Add your Employee users
- Add your Student users
- Create a screening Schedule
For how to set up your school's employee users, see our general Set Up Checklist guide.
Adding Students
Head to Workforce > Students. Students can be added individually or in bulk, using the import function.
Bulk Importing Students
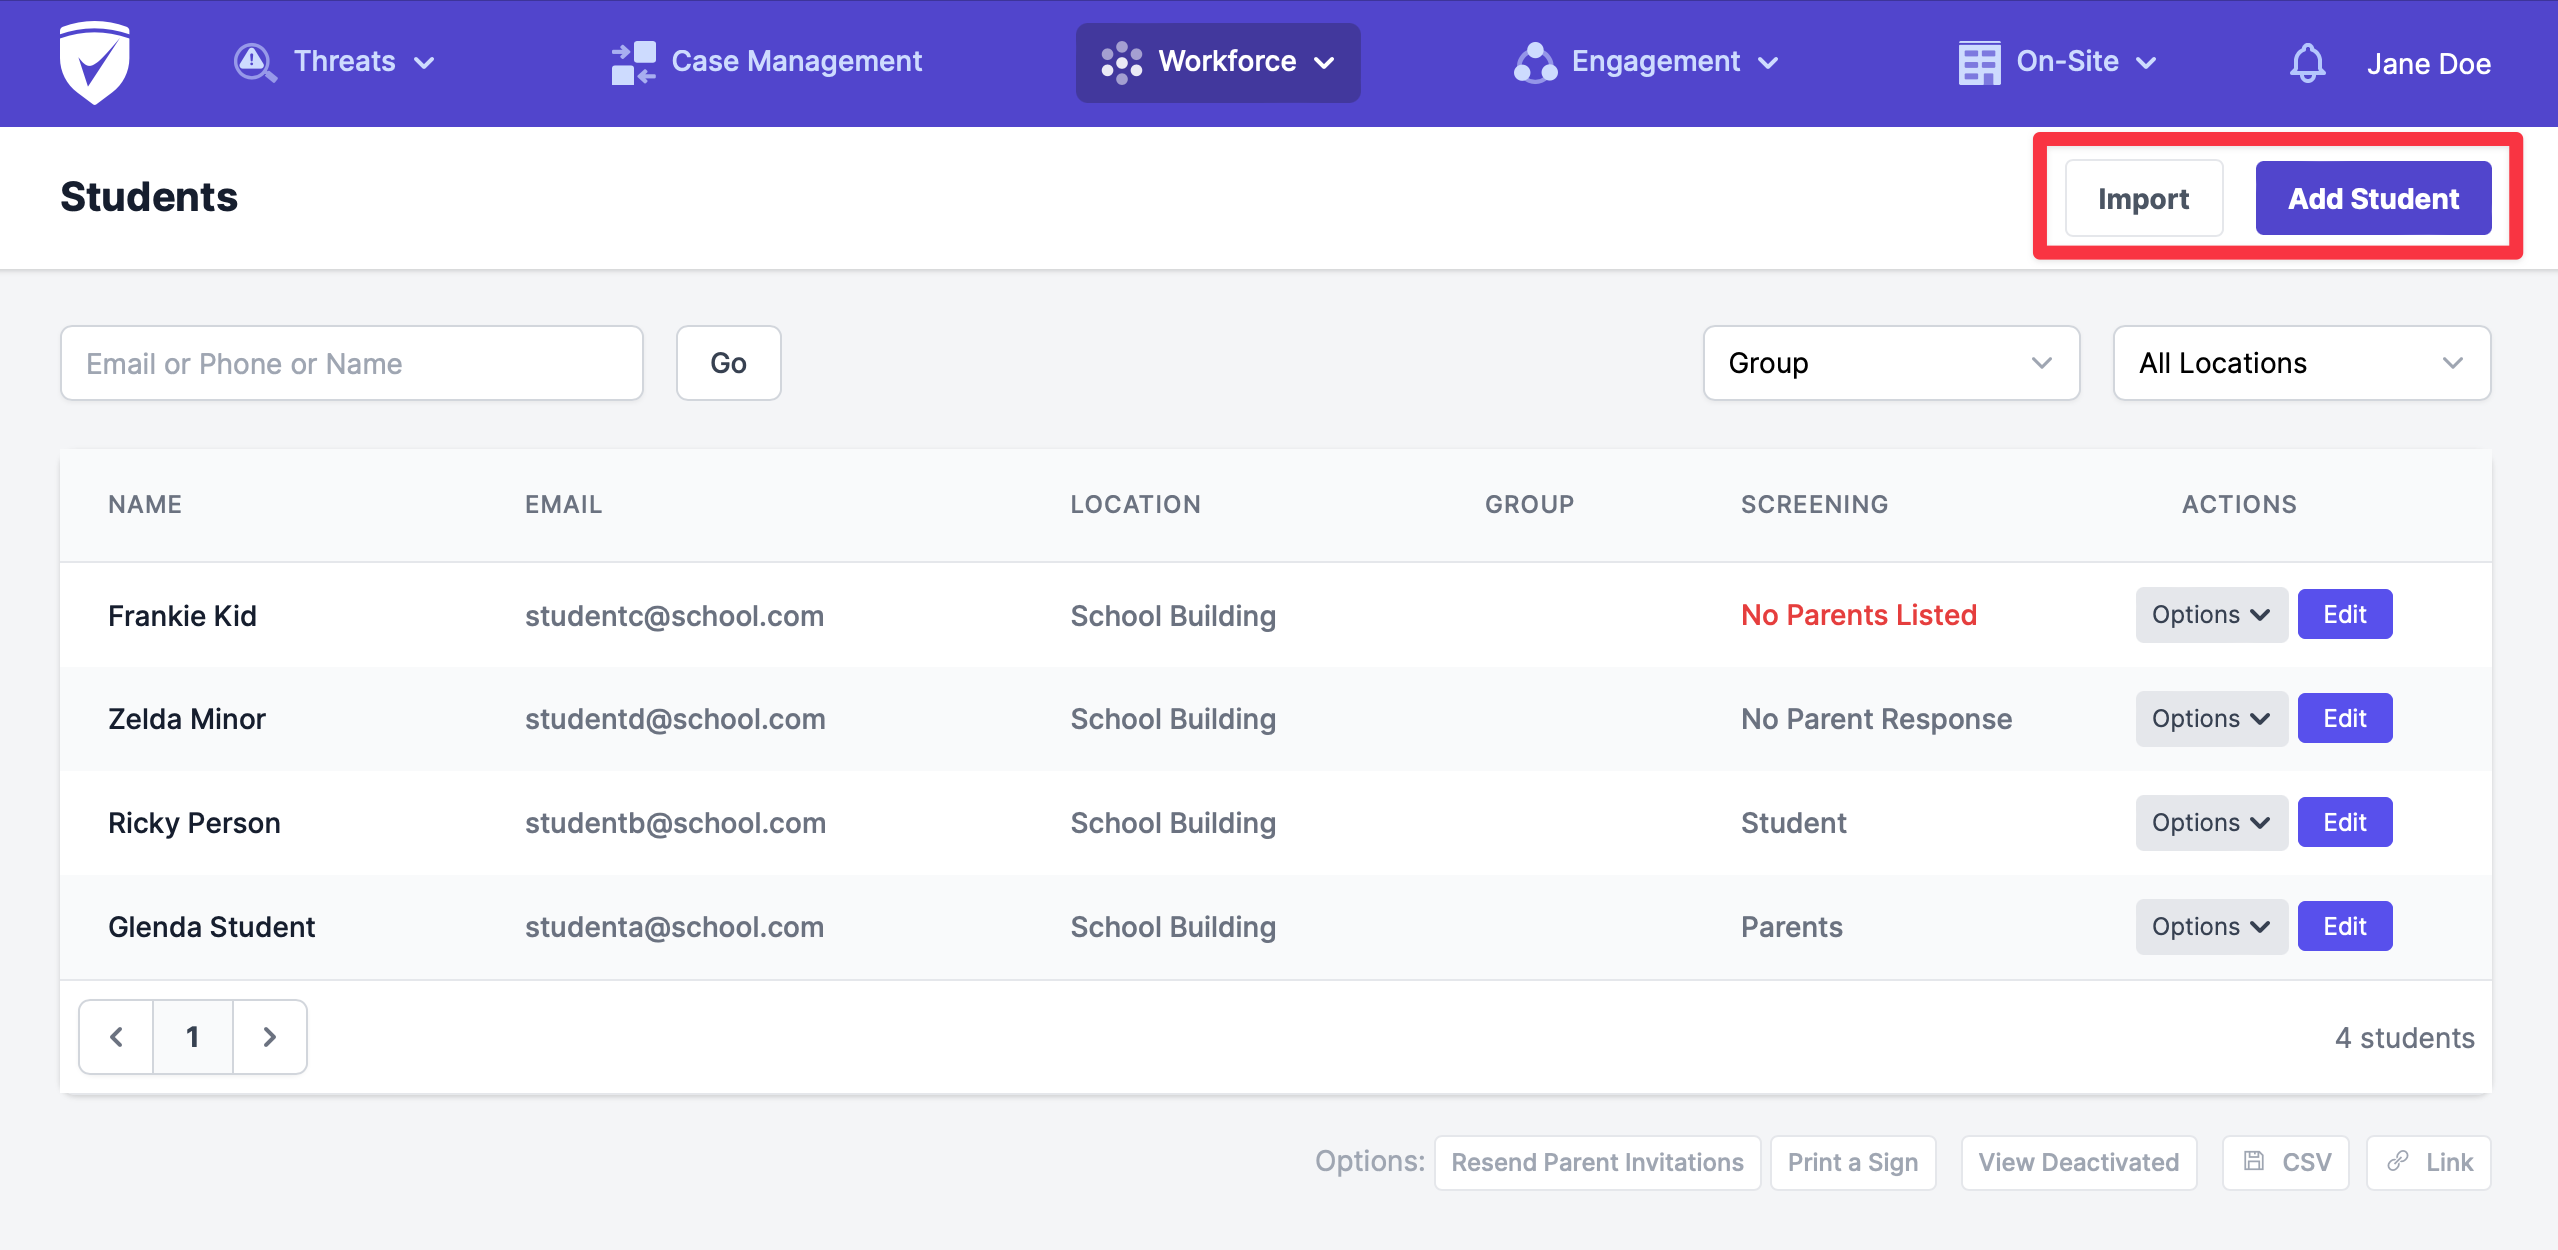
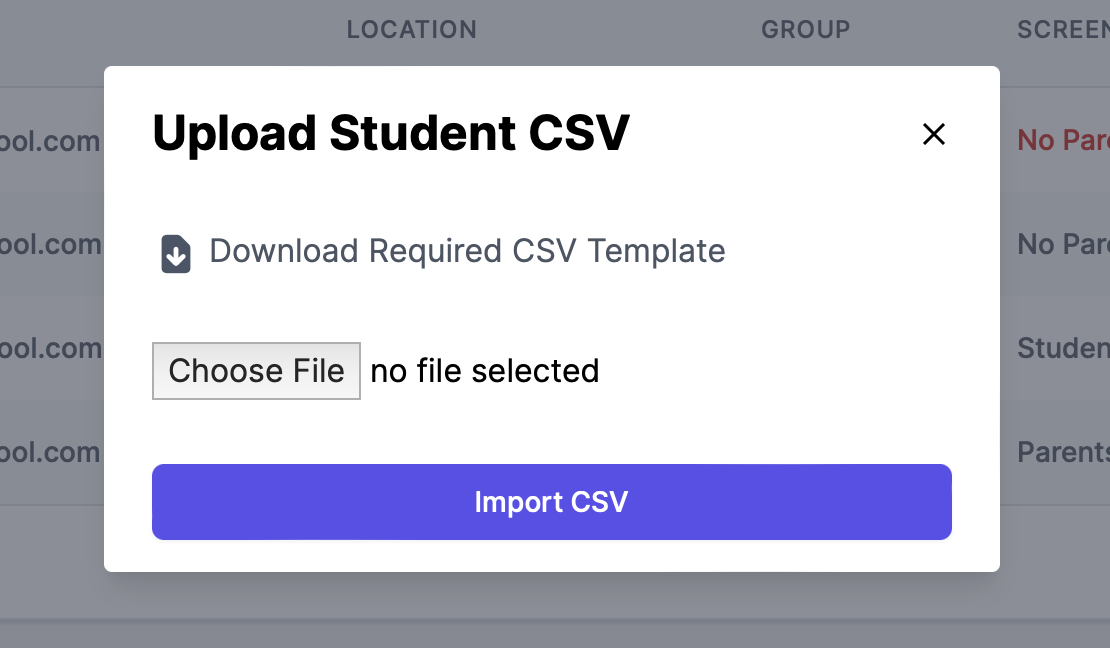
- Clicking on the Import button will prompt you to download the attached CSV template.
- Open the file in Excel or Numbers and fill in the following information:
- Location Name*
- First Name*
- Middle Name
- Last Name*
- Cell Phone (student cell phone only, if applicable)
- Student ID
- Home Address
- Birthdate
- Parent Guardian 1 Phone
- Parent Guardian 1 Email (if present, parent will be notified)
- Parent Guardian 1 Name
- Parent Guardian 2 Phone
- Parent Guardian 2 Email (if present, parent will be notified)
- Parent Guardian 2 Name
- Home Room
- Section
- Grade
- Teacher
- Groups (Groups can be used to organize by department, team, class, etc)
- Consent Given (if blank or FALSE, parent email is required. The parent will be sent an email asking them for consent. If TRUE, the student will be sent an email stating the Student will be asked to screen before coming to school.)
- Consent Given By (leave blank)
- Age Group* (minor = student under the age of 18. adult = student 18 or older.)
- Removed (Leave this blank during your initial import. Later you can deactivate Students that are already in the system, by putting FALSE in this column).
* Required fields: Location, Name, Age Group, and at least one unique identifier (email, cell phone, or student ID)
Please Note: In order to add a student into the system the only thing needed is Email, or Student ID. However, without a location and name the users screenings will not populate on your pages correctly, and without a Parent email, the parental consent form will not be sent.
- Once filled out, This CSV can be uploaded by clicking the "Import" button.
Adding Students Individually
Click the "Add Student" button on the Students page, and fill in the above listed information. Click "Create Student" so save.
| | | --- | | Please Note that Parental Consent Must Be Obtained | | If a Student is added with parent email present, the parent will be immediately emailed a link to set the preferences on who will be completing the screening process; the student or the parent/guardian. If parent/guardian is selected they will also have the ability to set which parent(s) gets the notification. Once the preferences are set, the parent or child (whoever will be doing the screening) can download the app and Link the app with their email address (parent or student).
Note: If parental consent was obtain through another method besides our automated email, no parent email is required. Consent must be provided in the consent_given column of the import file. |
Any questions? Contact support@cleartogo.co