Reservations
Reservations can be enabled via Your Name > Settings > Organization Settings.
This feature is great when your organization would like to require users to reserve time in spaces, or to know who is going to be in the building on a particular day.
For the purposes of our system, we define reservations as anything that requires reserved time or spaces within an organization (i.e. a meeting room to be reserved for a presentation).
To Enable This Feature:
- Enable "Reservations" in your Organization Settings
- Enable Capacity Tracking within your Locations' settings (this must be enabled for each location that will have reservations available)
- Assign employees to locations (users must be assigned to at least one location to make a reservation, and they are only able to make reservations at the locations they are assigned to)
Please Note: Employees will be automatically accepted if their locality is set to "In Person."
Reservation Workflow
To view the Reservations tab, go to On-Site > Reservations. There, you can manually schedule reservations with a CSV template, via the "Schedule" button similar to importing visitors. Once imported, reservations are also able to be filtered.
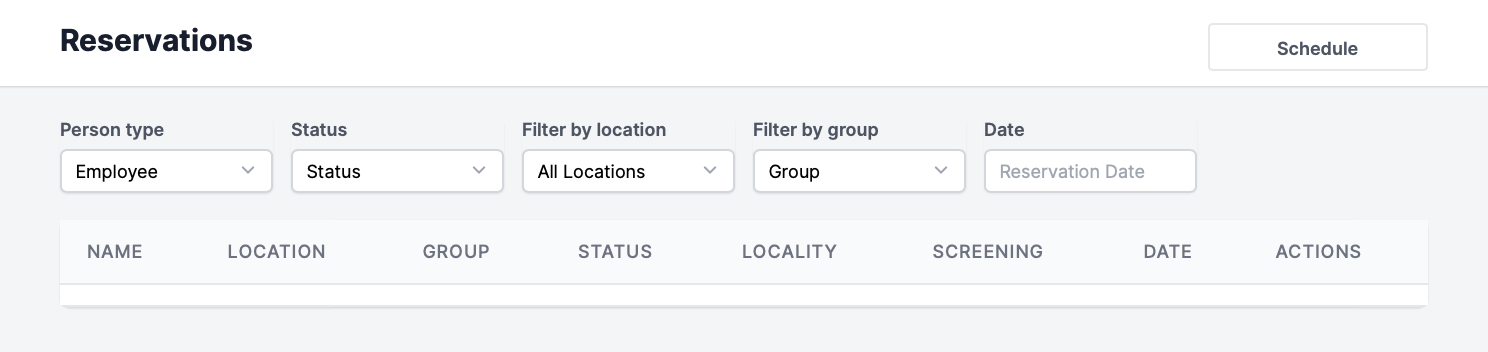
Note: If you are going to filter by a date or location, you will need to select both a date and location to be able to filter those options.
Alternatively, you can have your users make a reservation via their Green "Reservations" on the home page of their app.
Reviewing Reservations
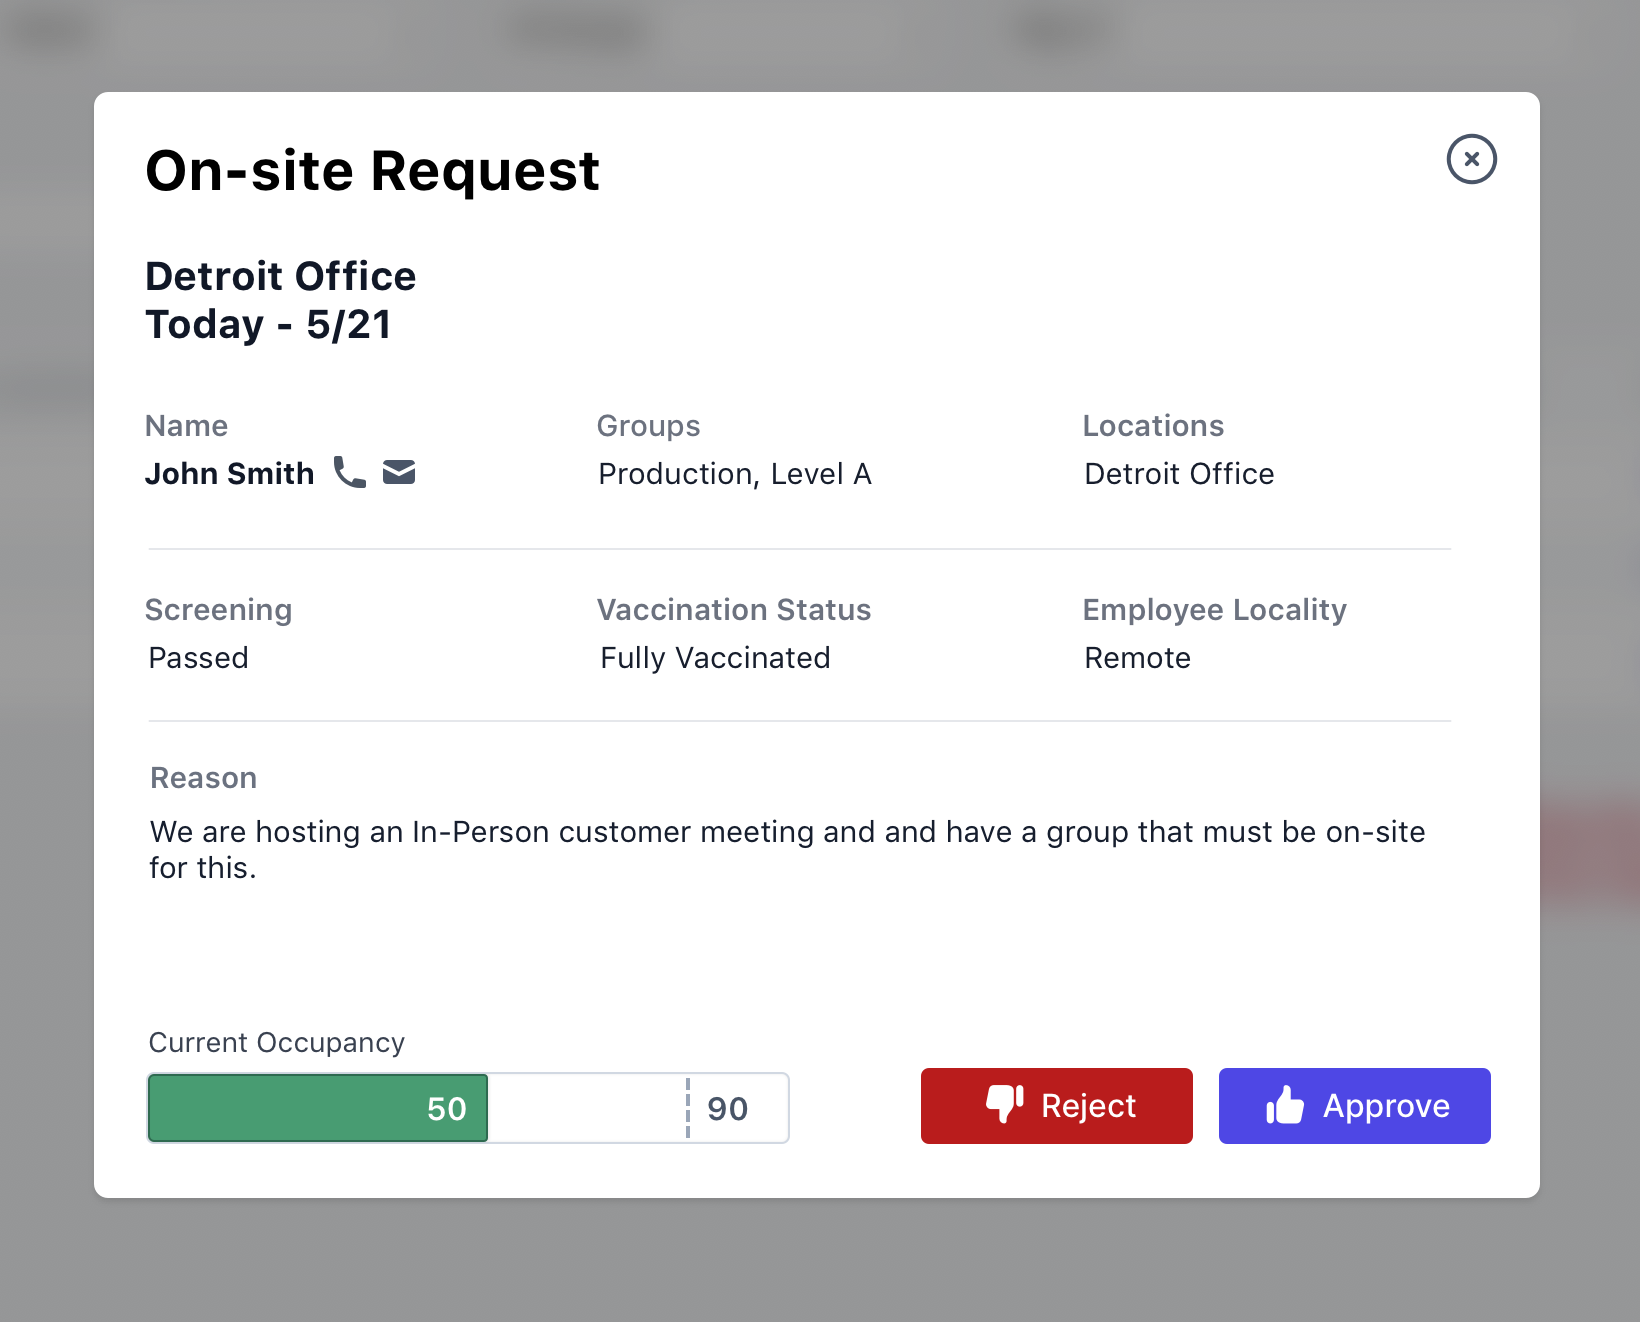
You can click on the name of any reservation that is pending, you can see all of the information the user has given, as well as any user information that is related.
You can also see the Projected Occupancy for the date of the reservation, as well as Reject or Approve buttons. With those, you can either approve or reject a specific reservation that was made.
If a reservation is approved manually or automatically, you are able to cancel it, as seen on the main Reservations page.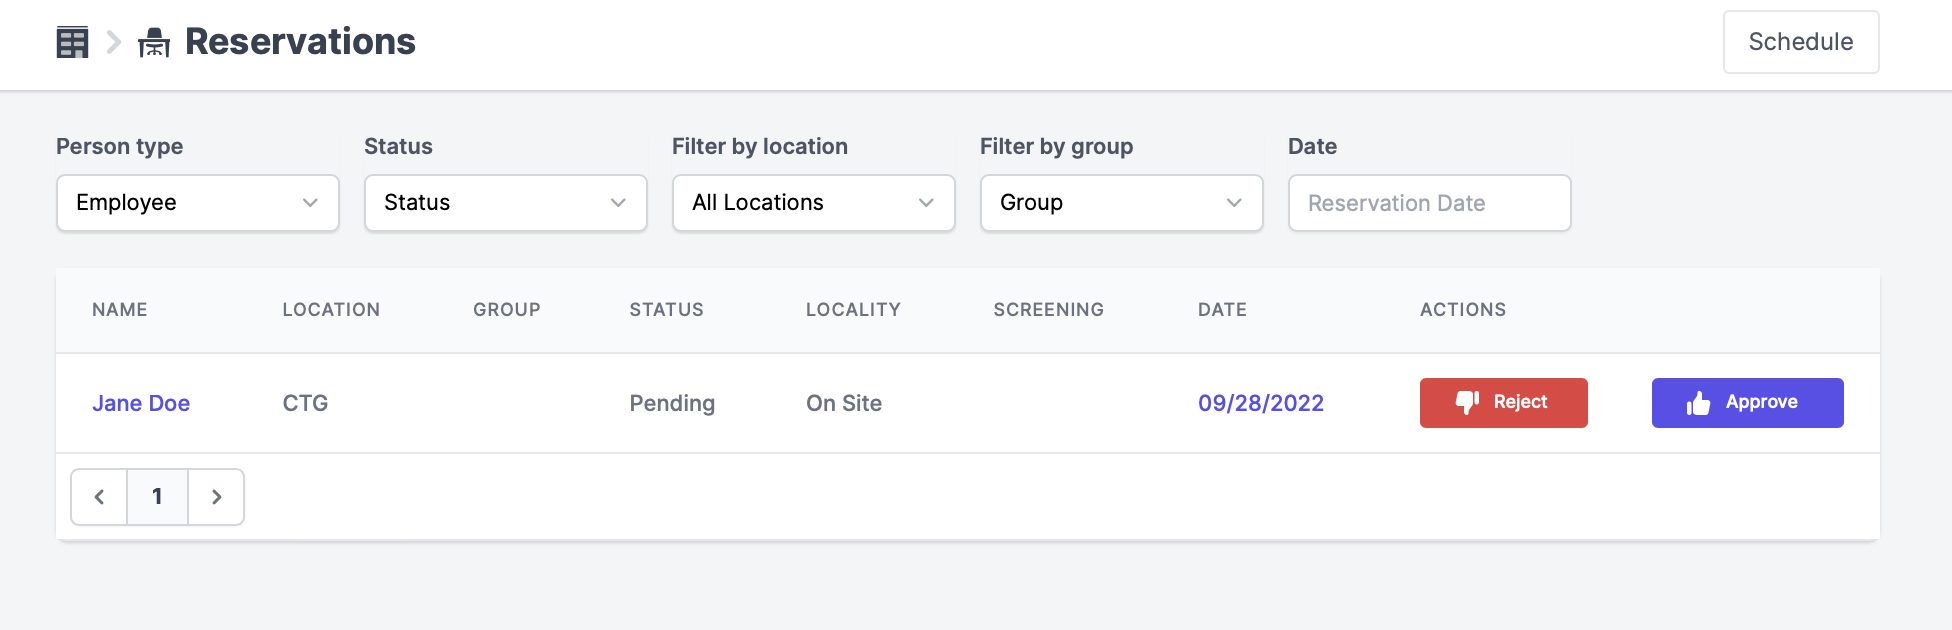
Making a Reservation
Importing a CSV
Users with the Manage Reservations permission enabled will be able to upload a CSV file to schedule reservations, similar to how one would import visitors or contractors. This is done by clicking "Schedule" and uploading a CSV file with the user email, location, and date of the reservation.
Each row of the CSV file should look like this before successful upload:
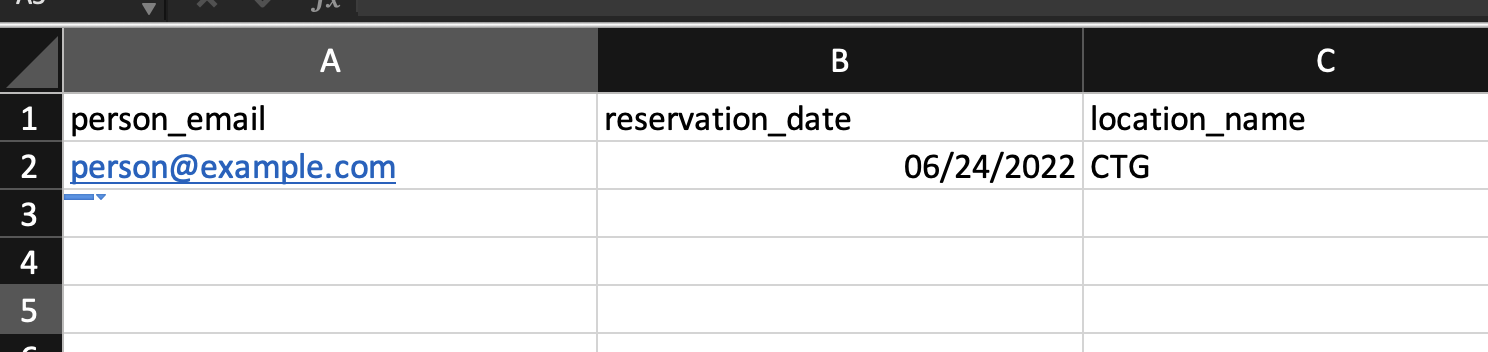
Please Note: You must have the date format set to MM/DD/YYYY.
Via the App
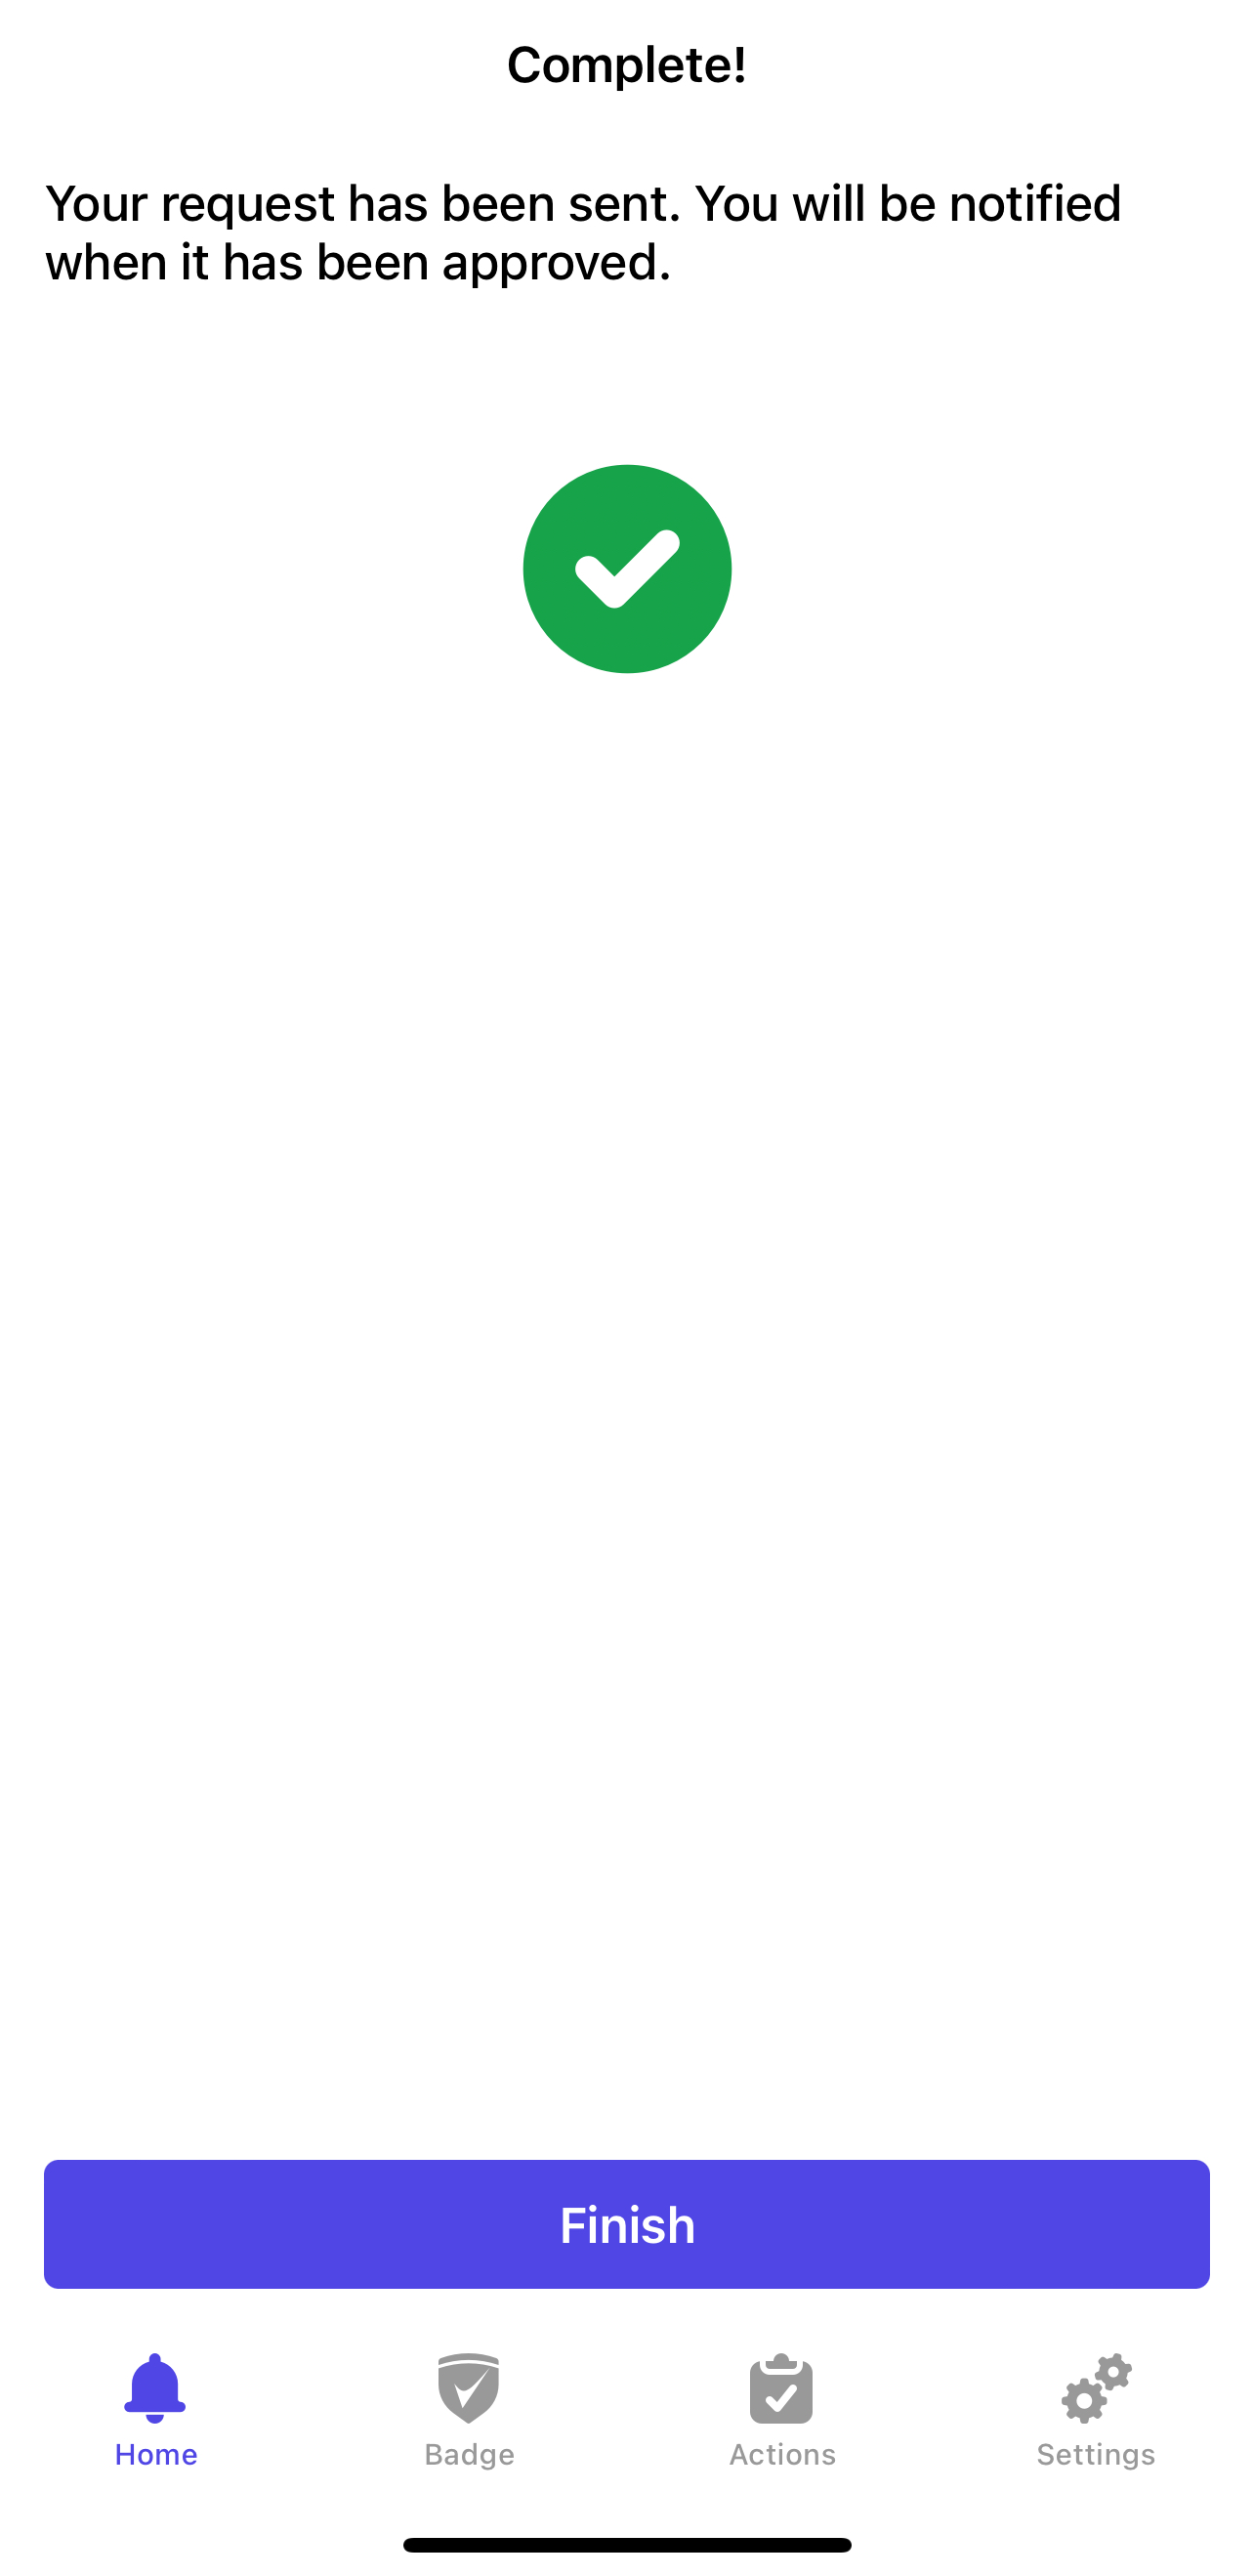
Secondly, users can submit a reservation by tapping on the Green "Reservations" button on their app.
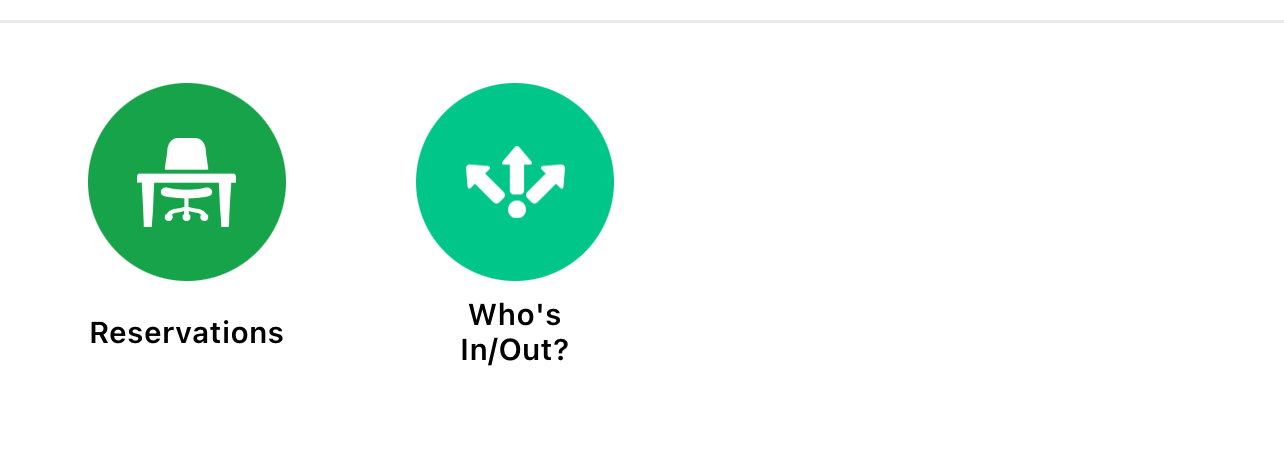
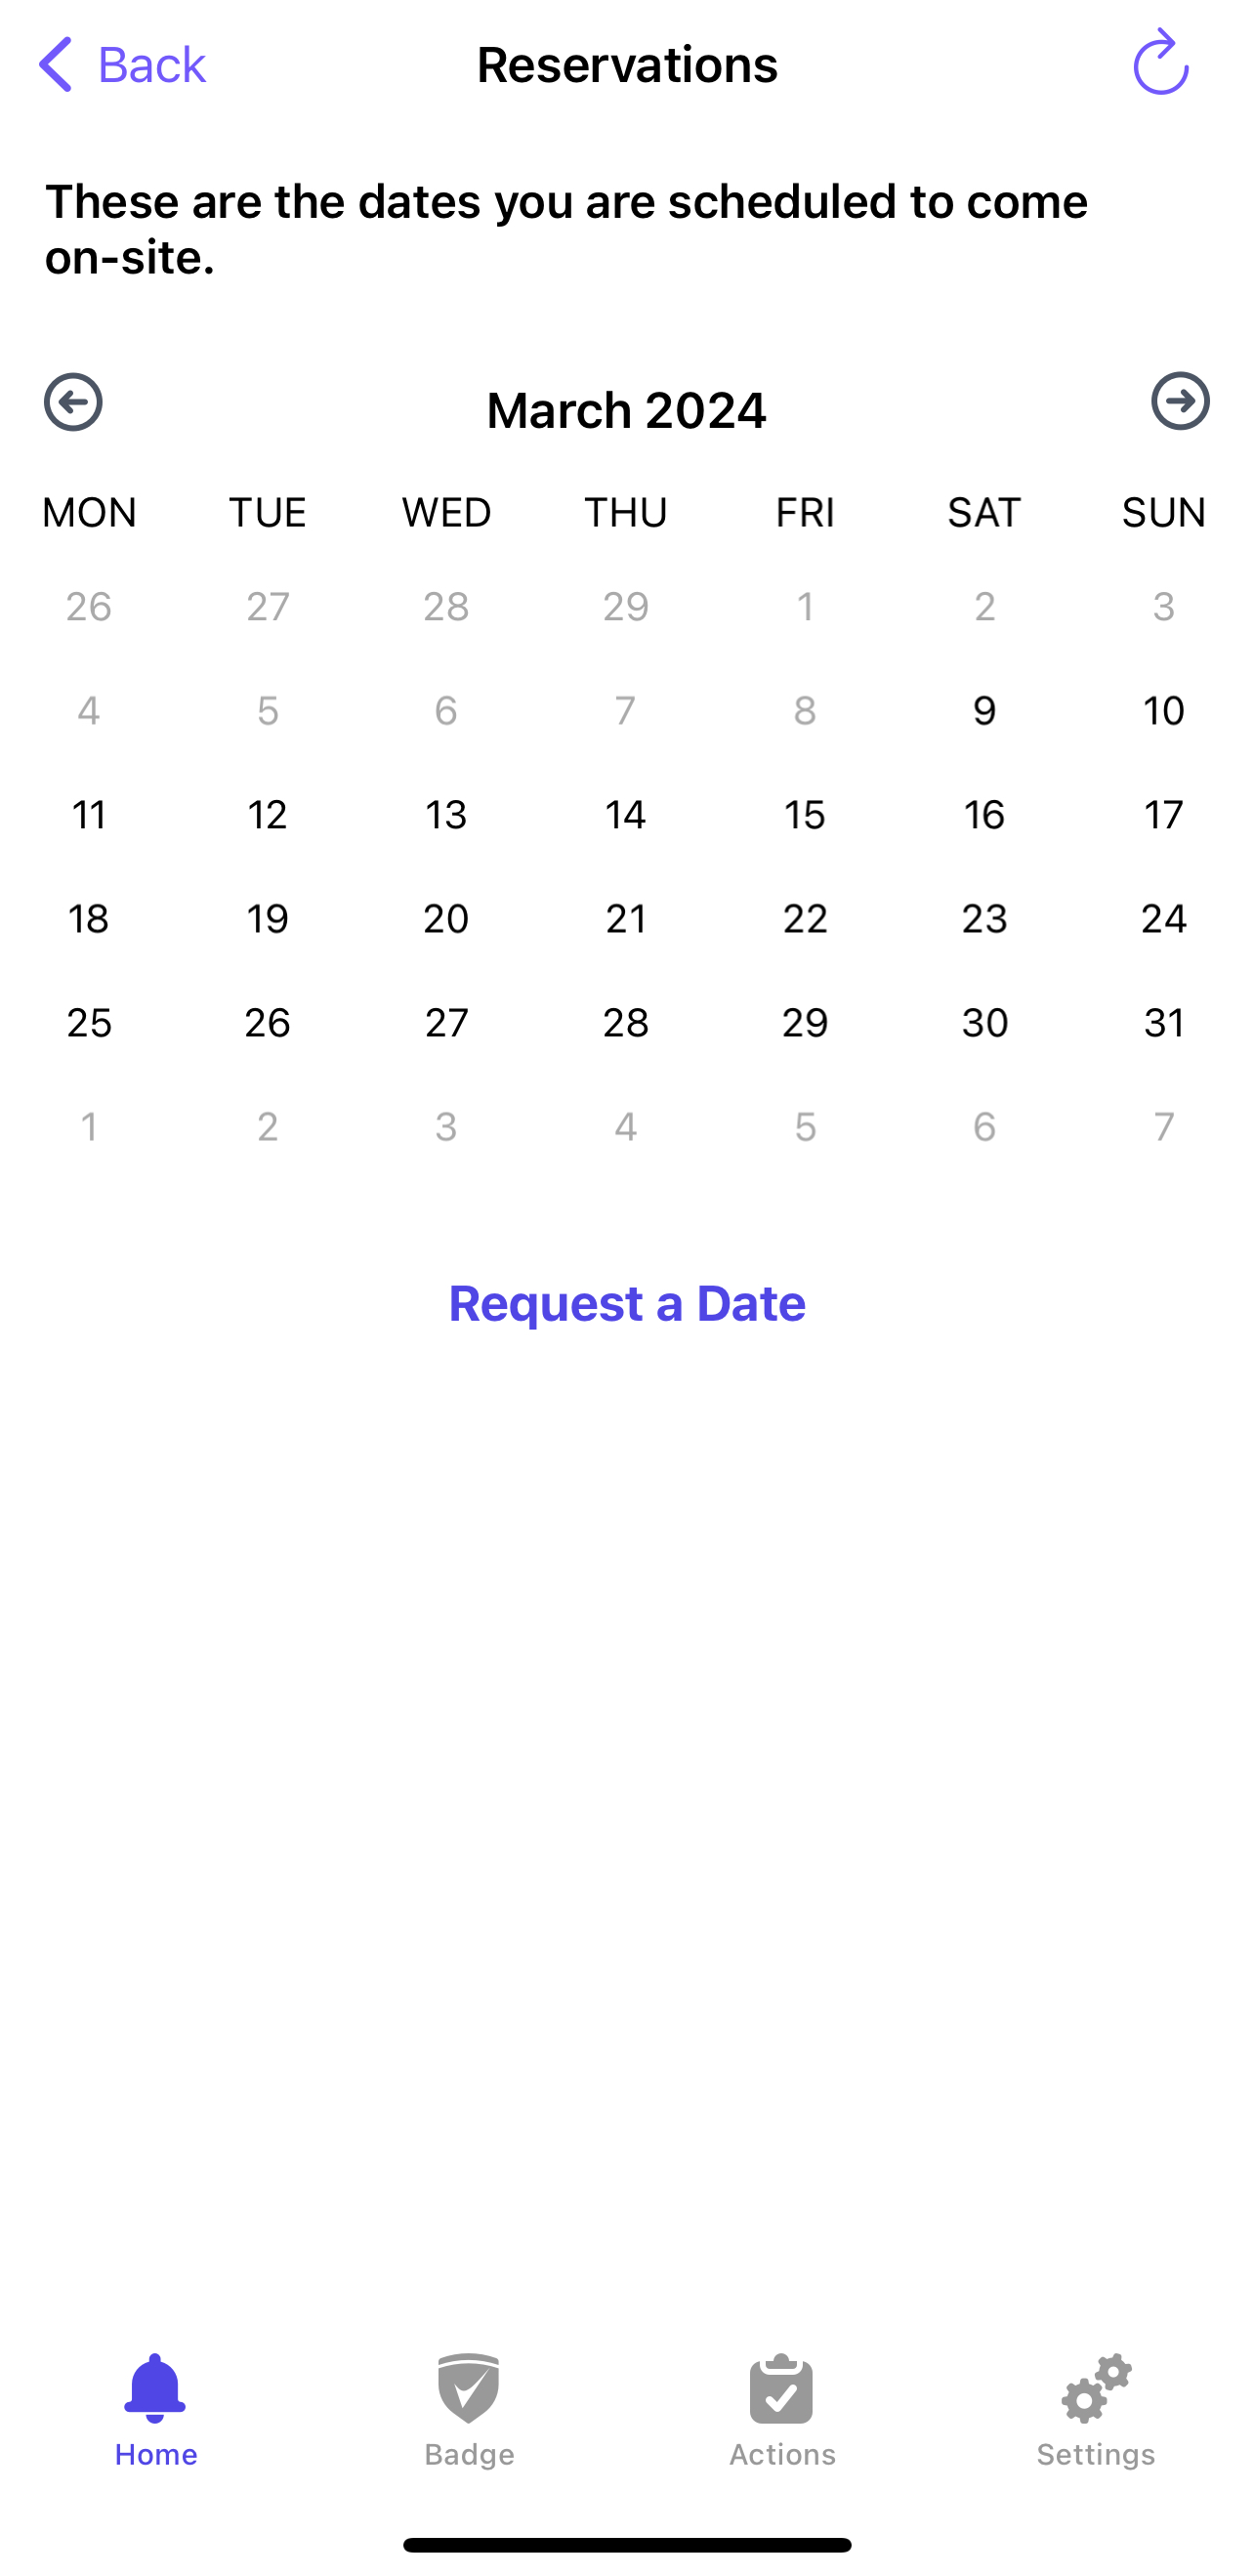
From there, the user will see a calendar of the dates with reservations, and then select "Request a Date" to begin making a reservation.
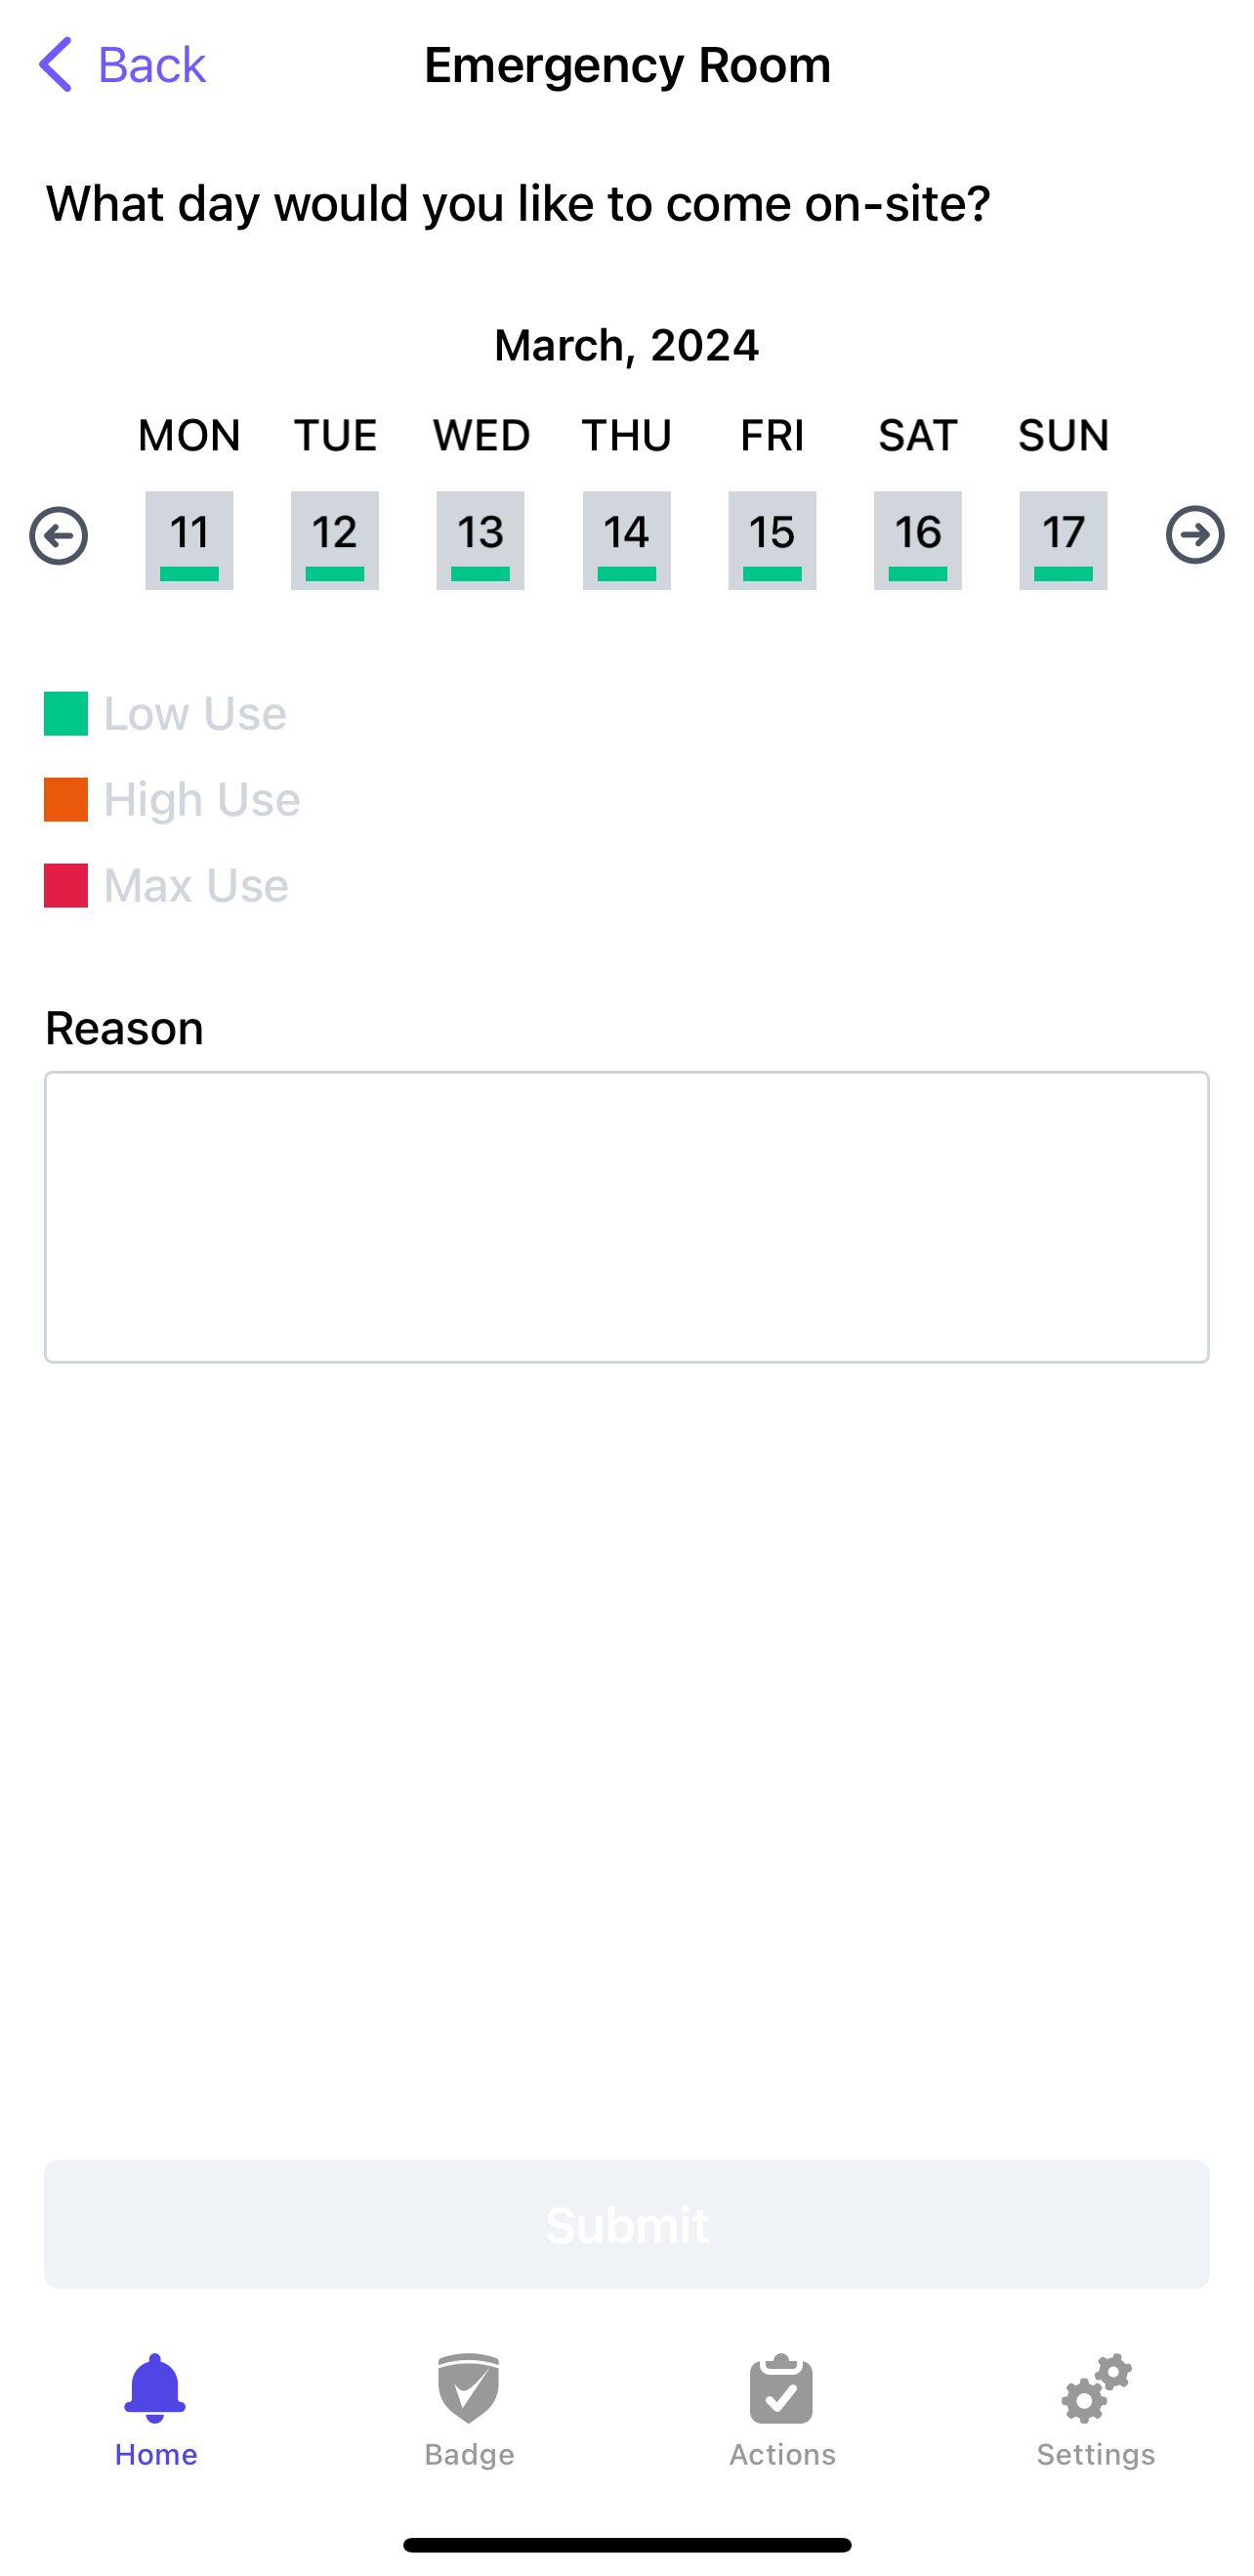
Next, they can select the location they'd like to make a reservation for and select the date they'd like to come on-site, as well as a short description of the reason they're making this reservation.
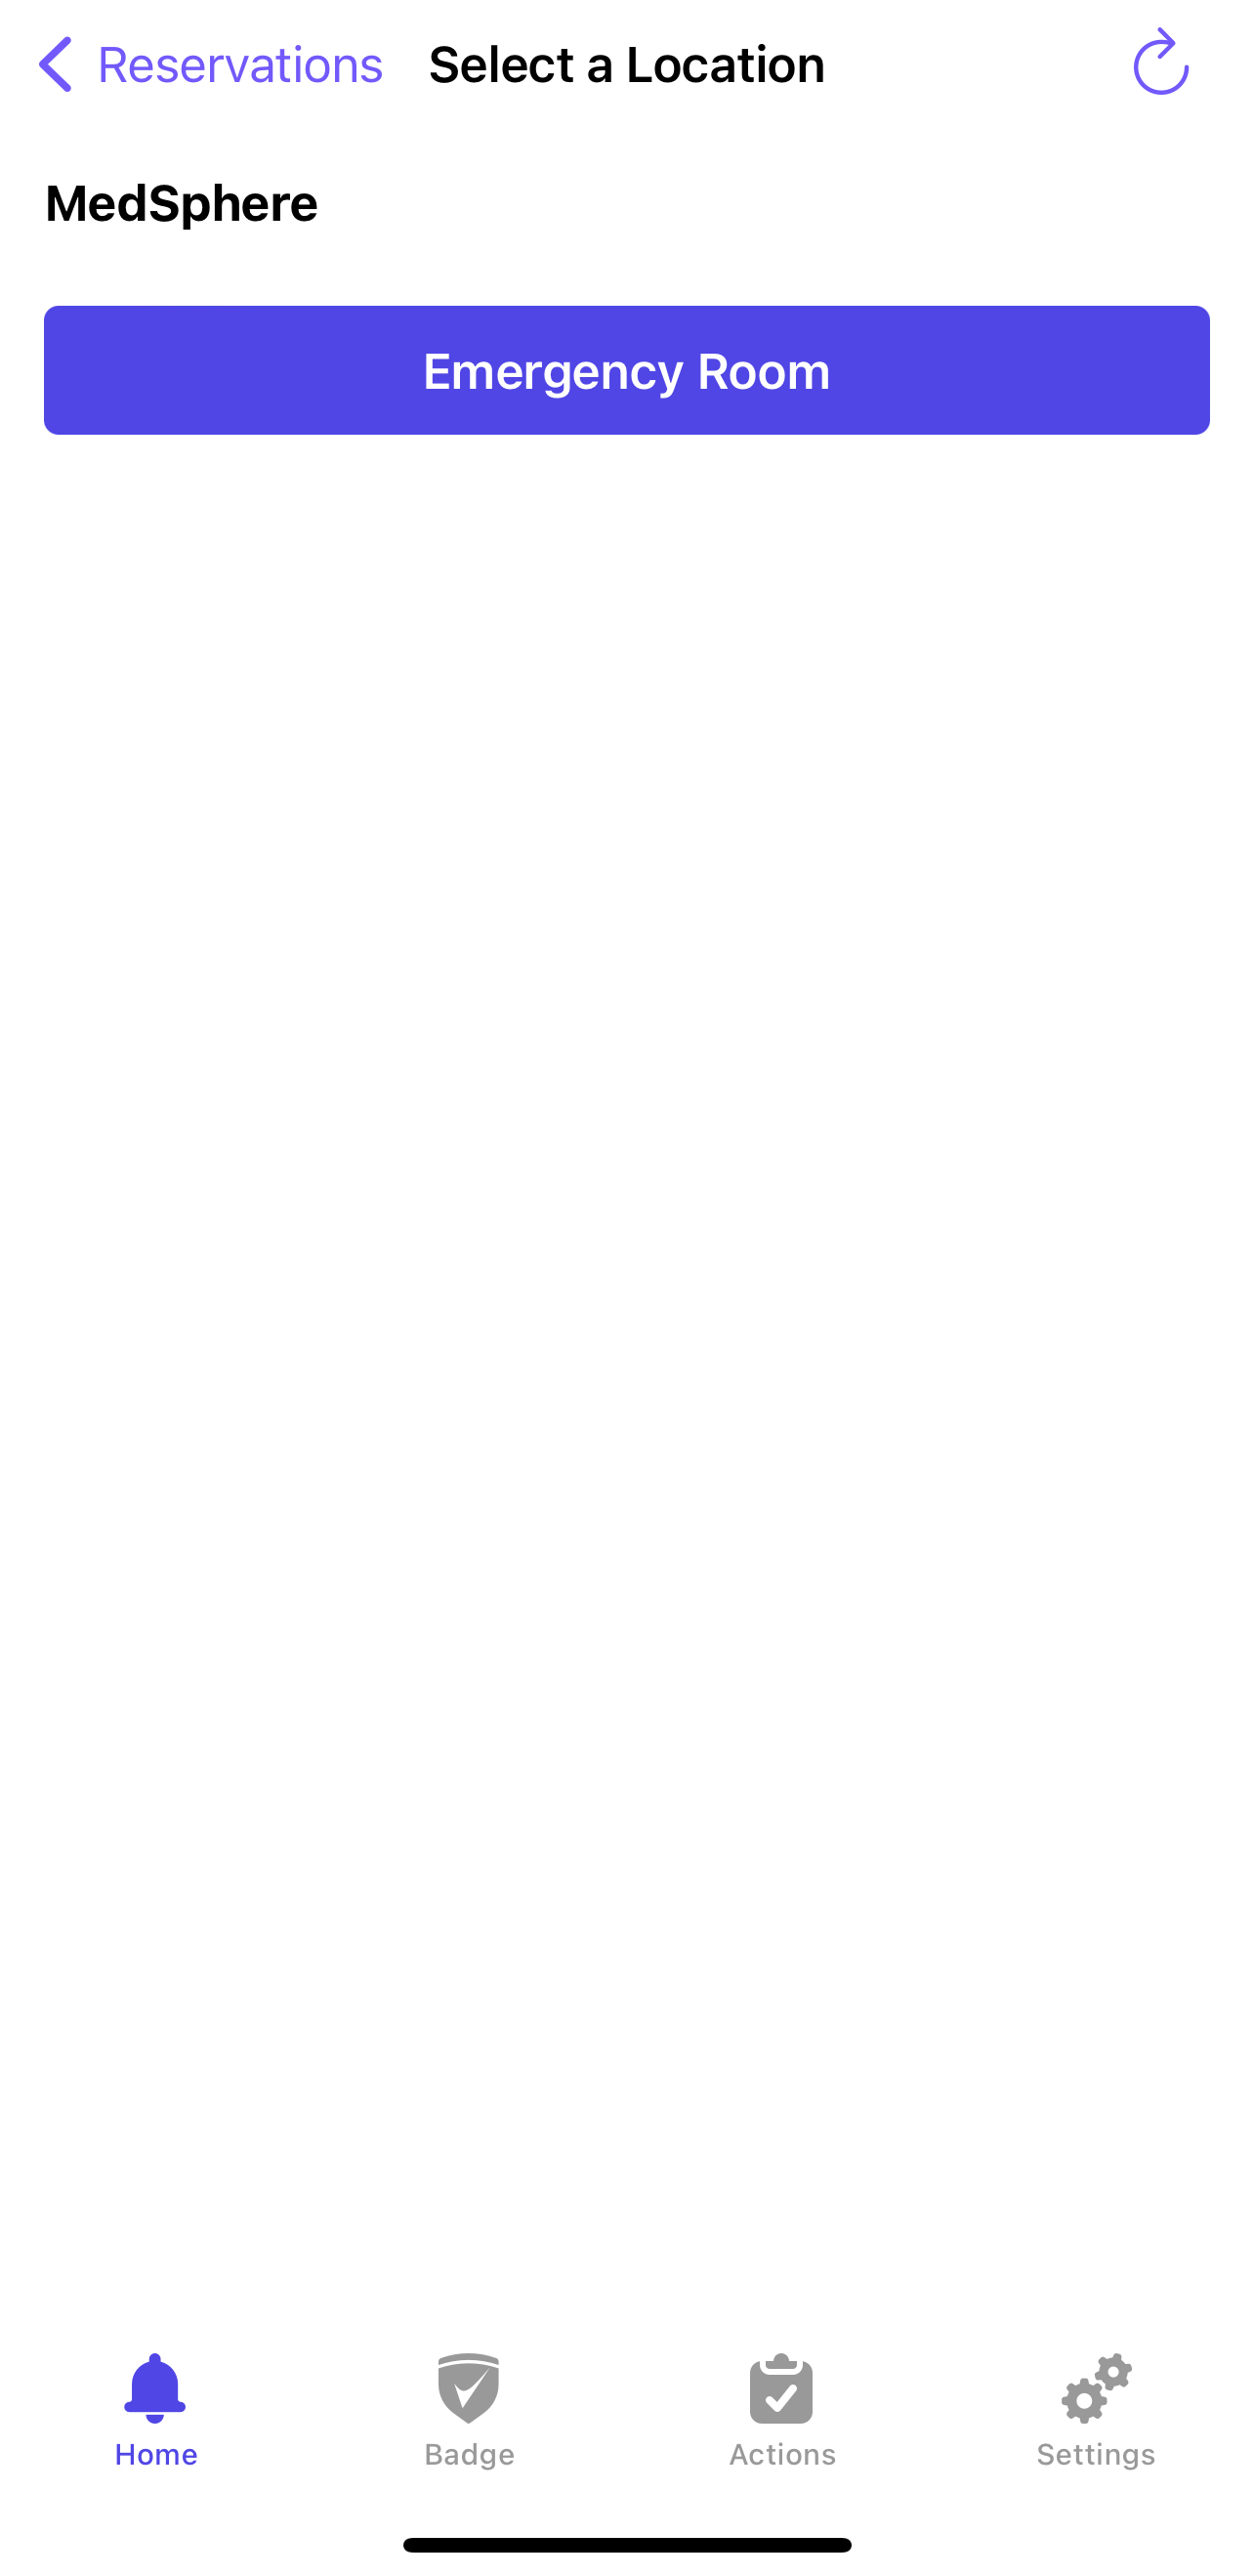
As indicated by the colored bar under the date number, users will be able to see what days are expecting low/high/max numbers of people.
The reservation can then be accepted or rejected, and the user will be notified.