
Test Results Submission and Review
Mobile Submission
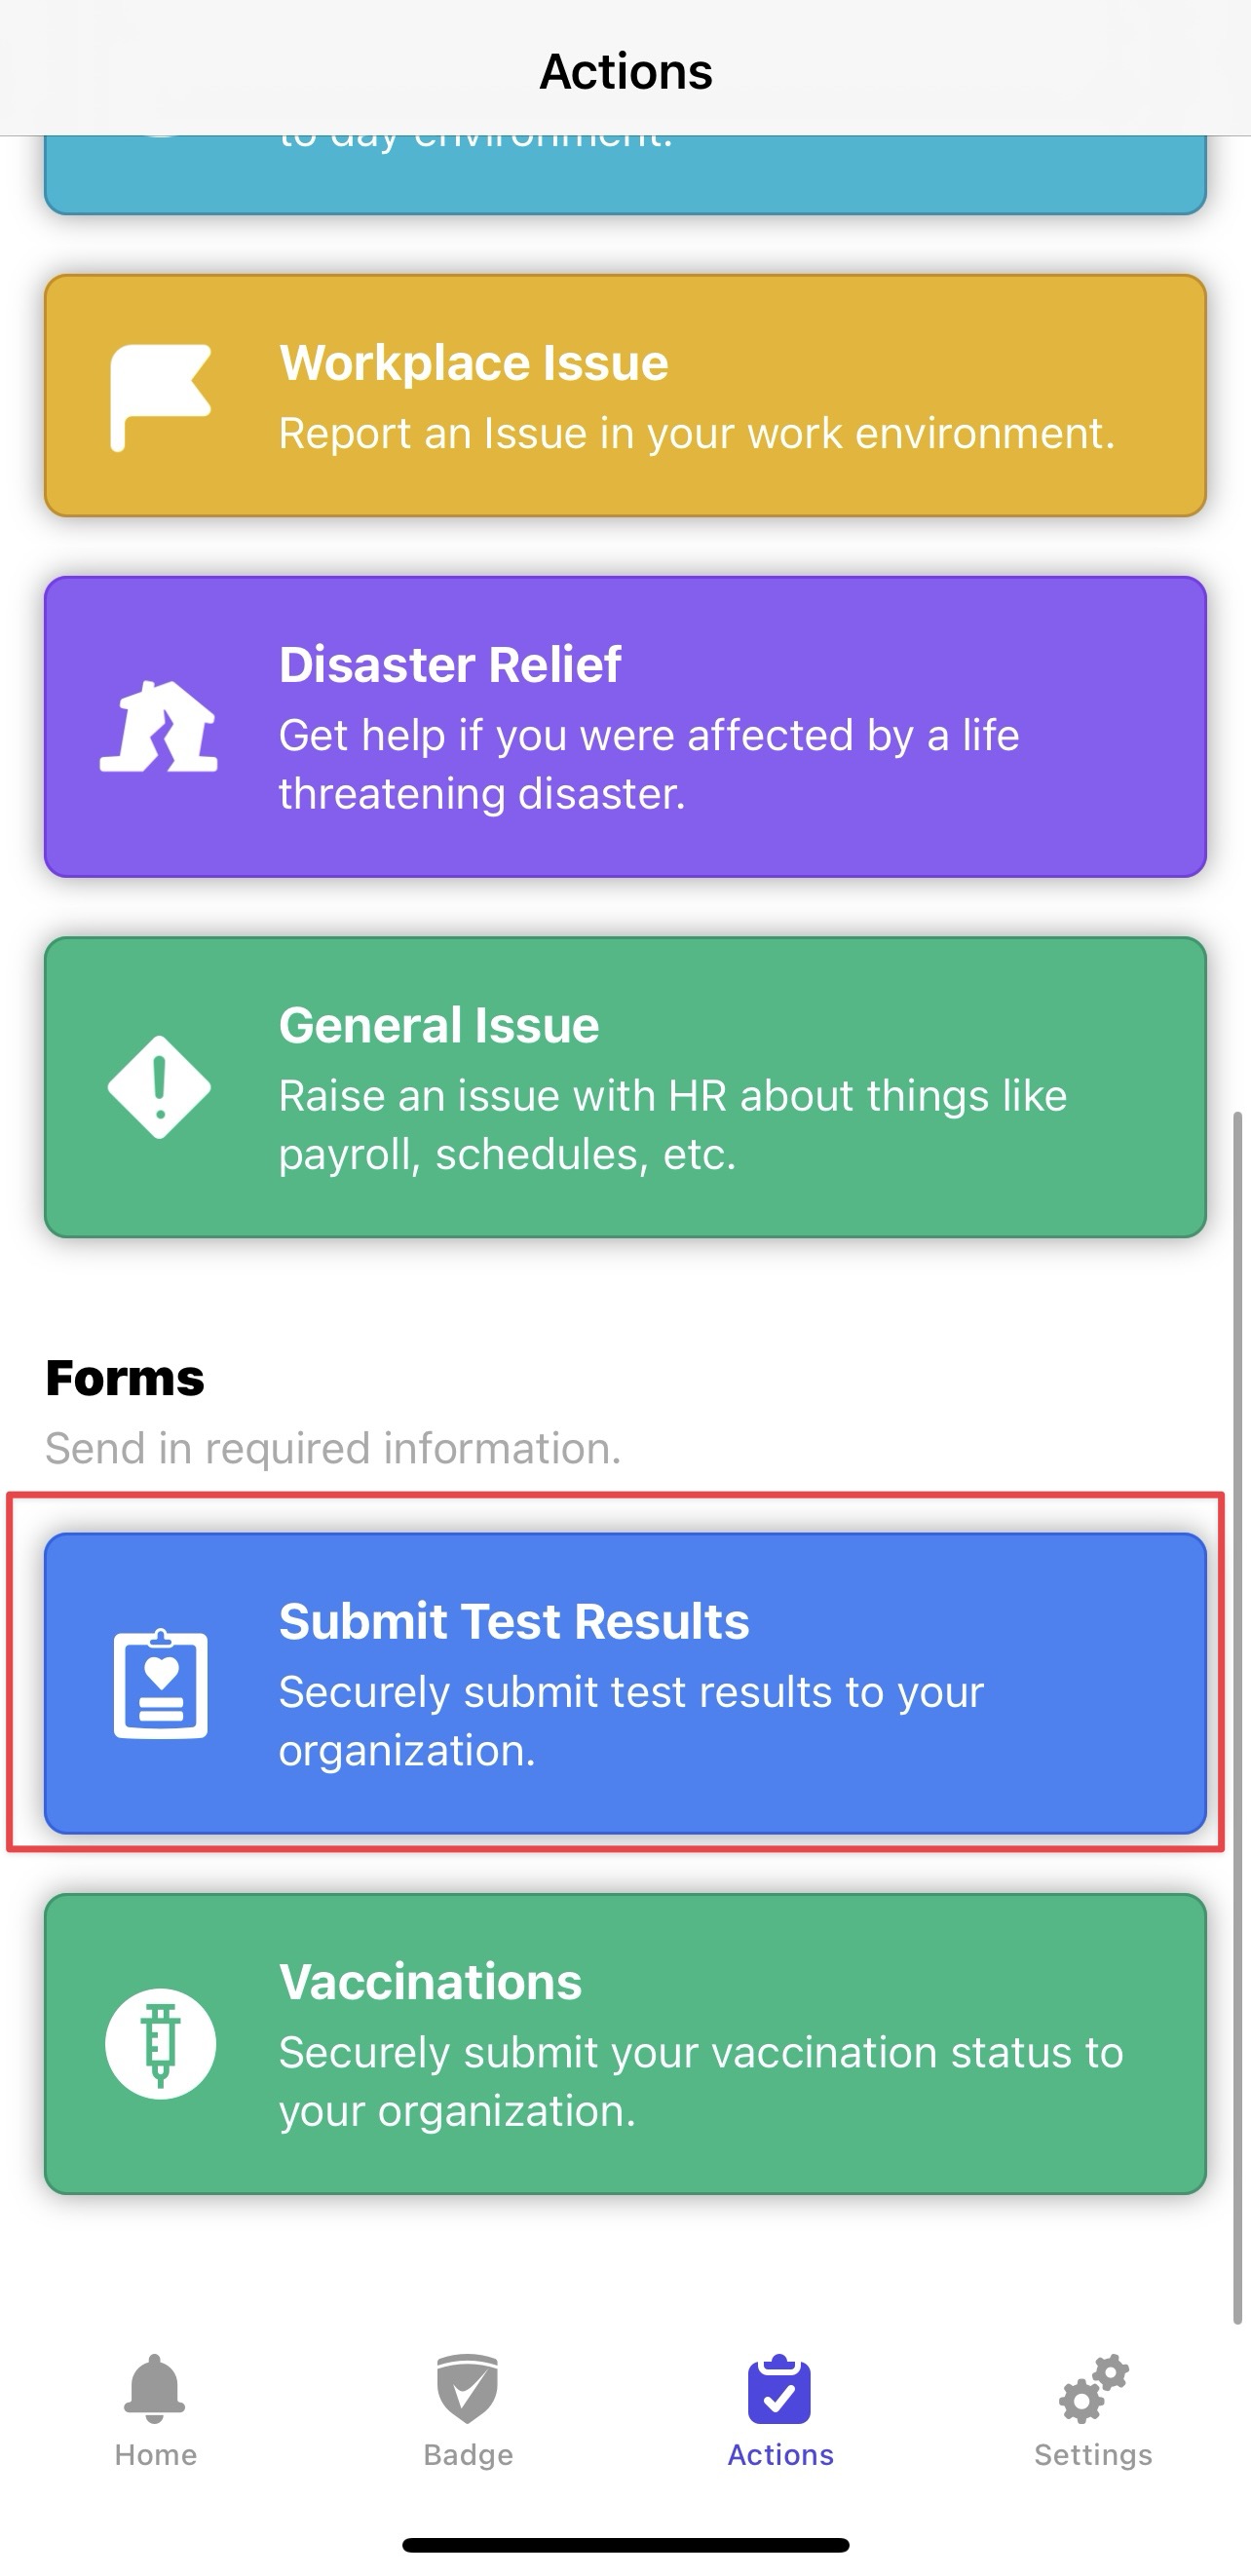
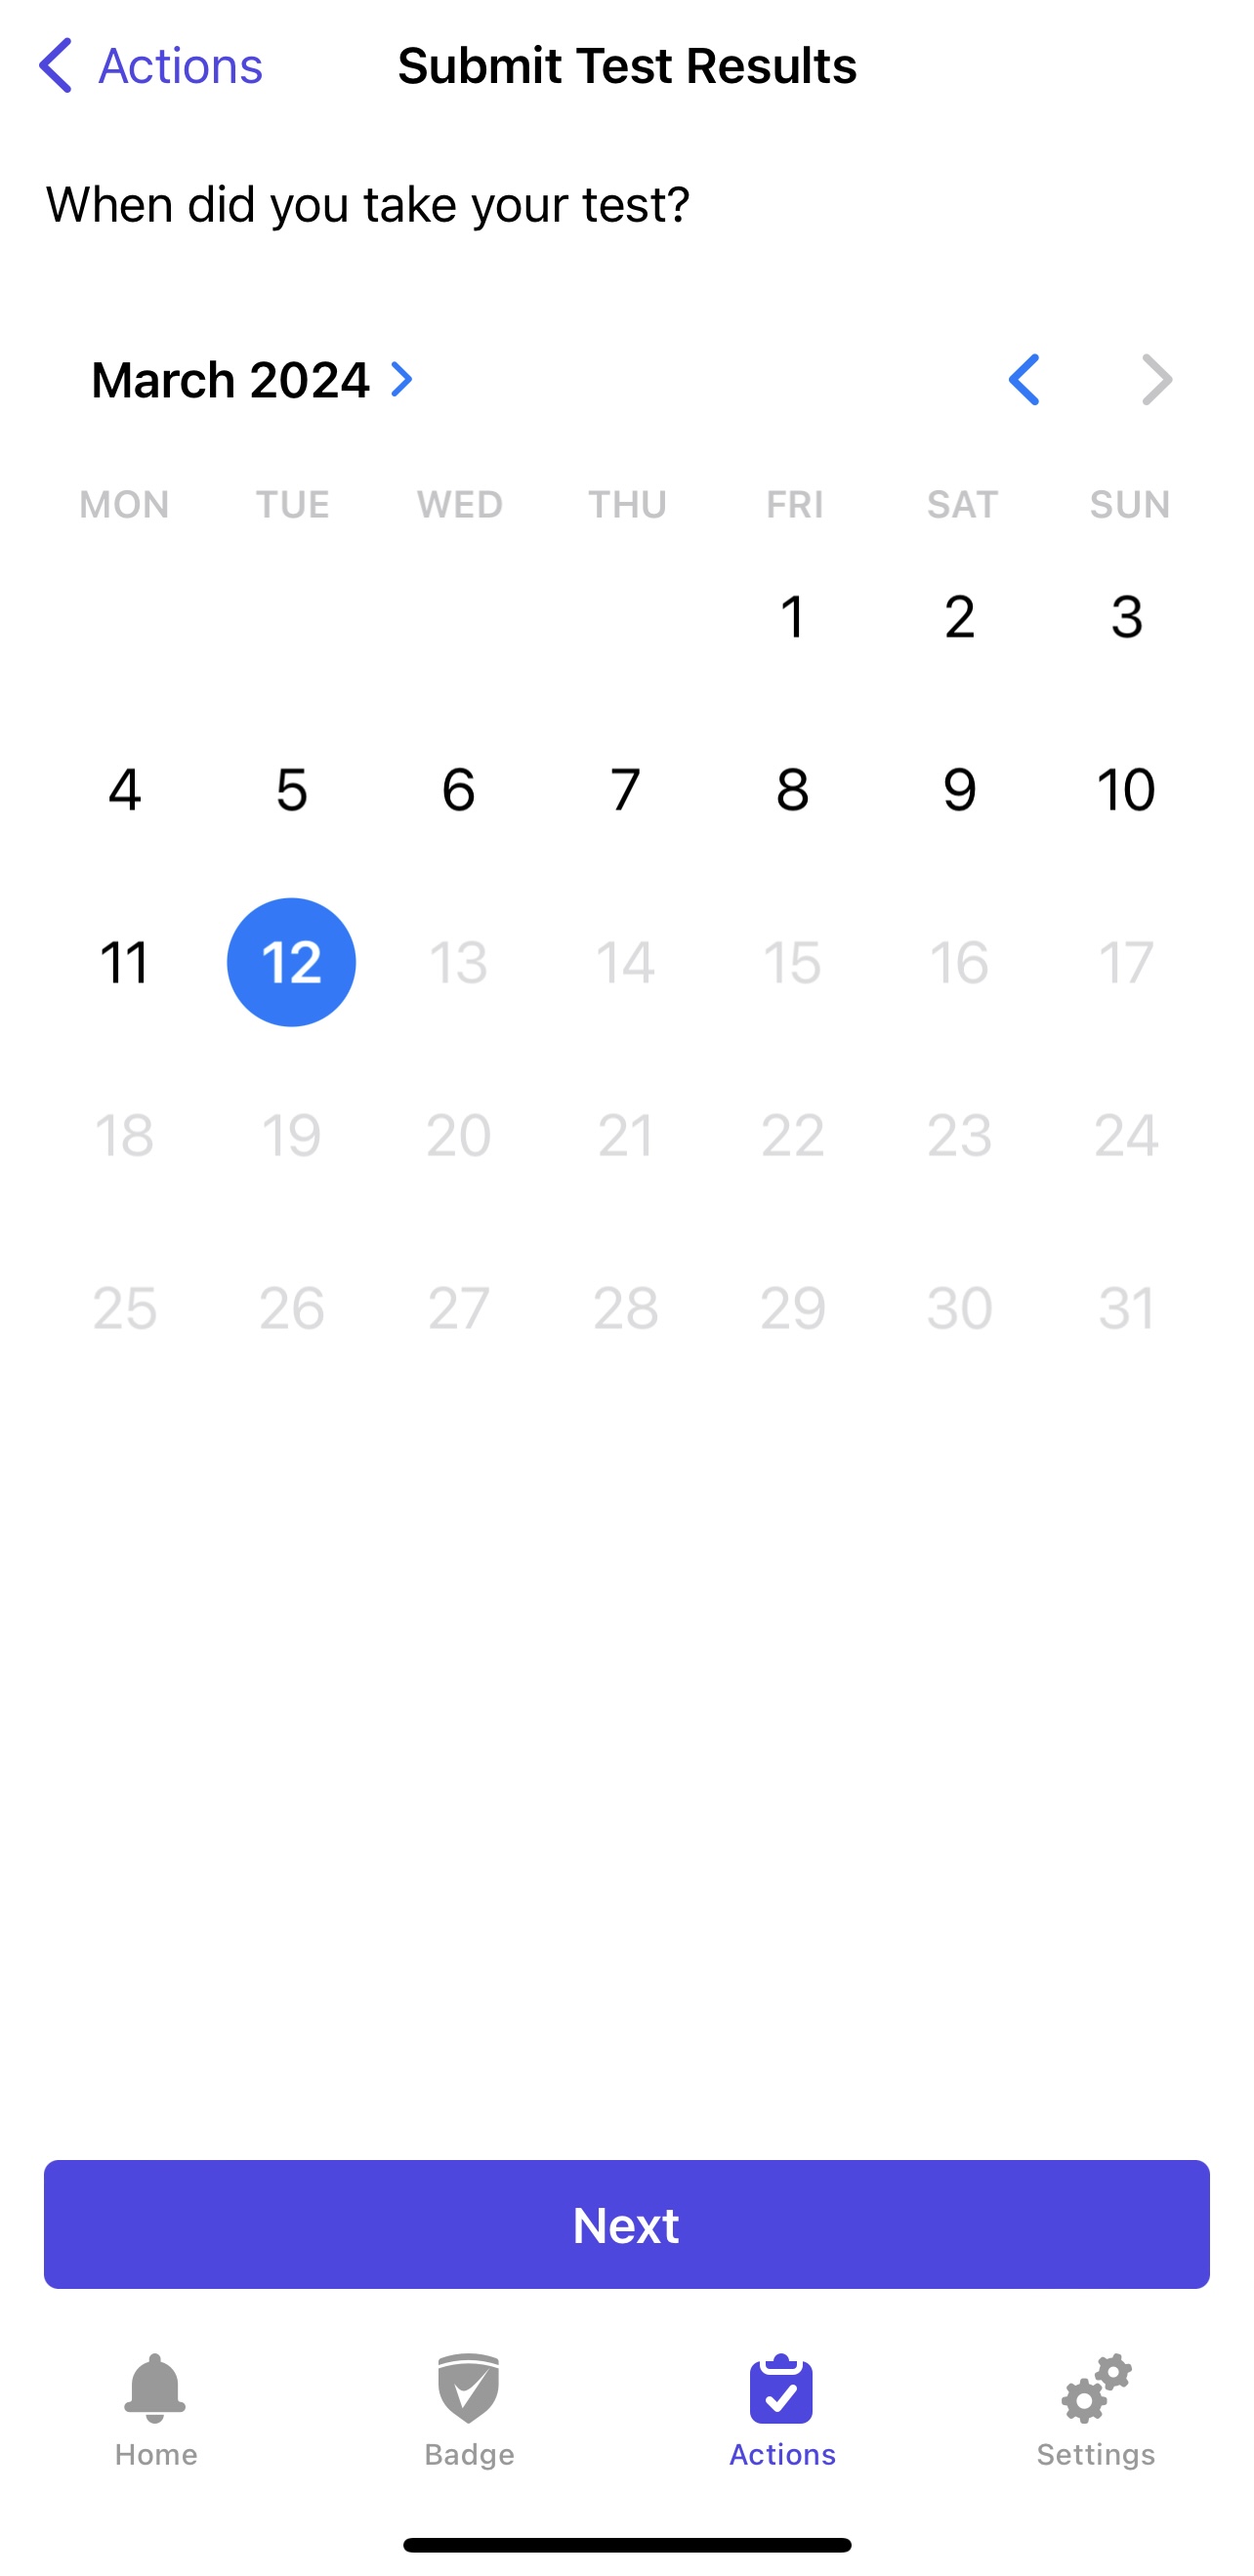
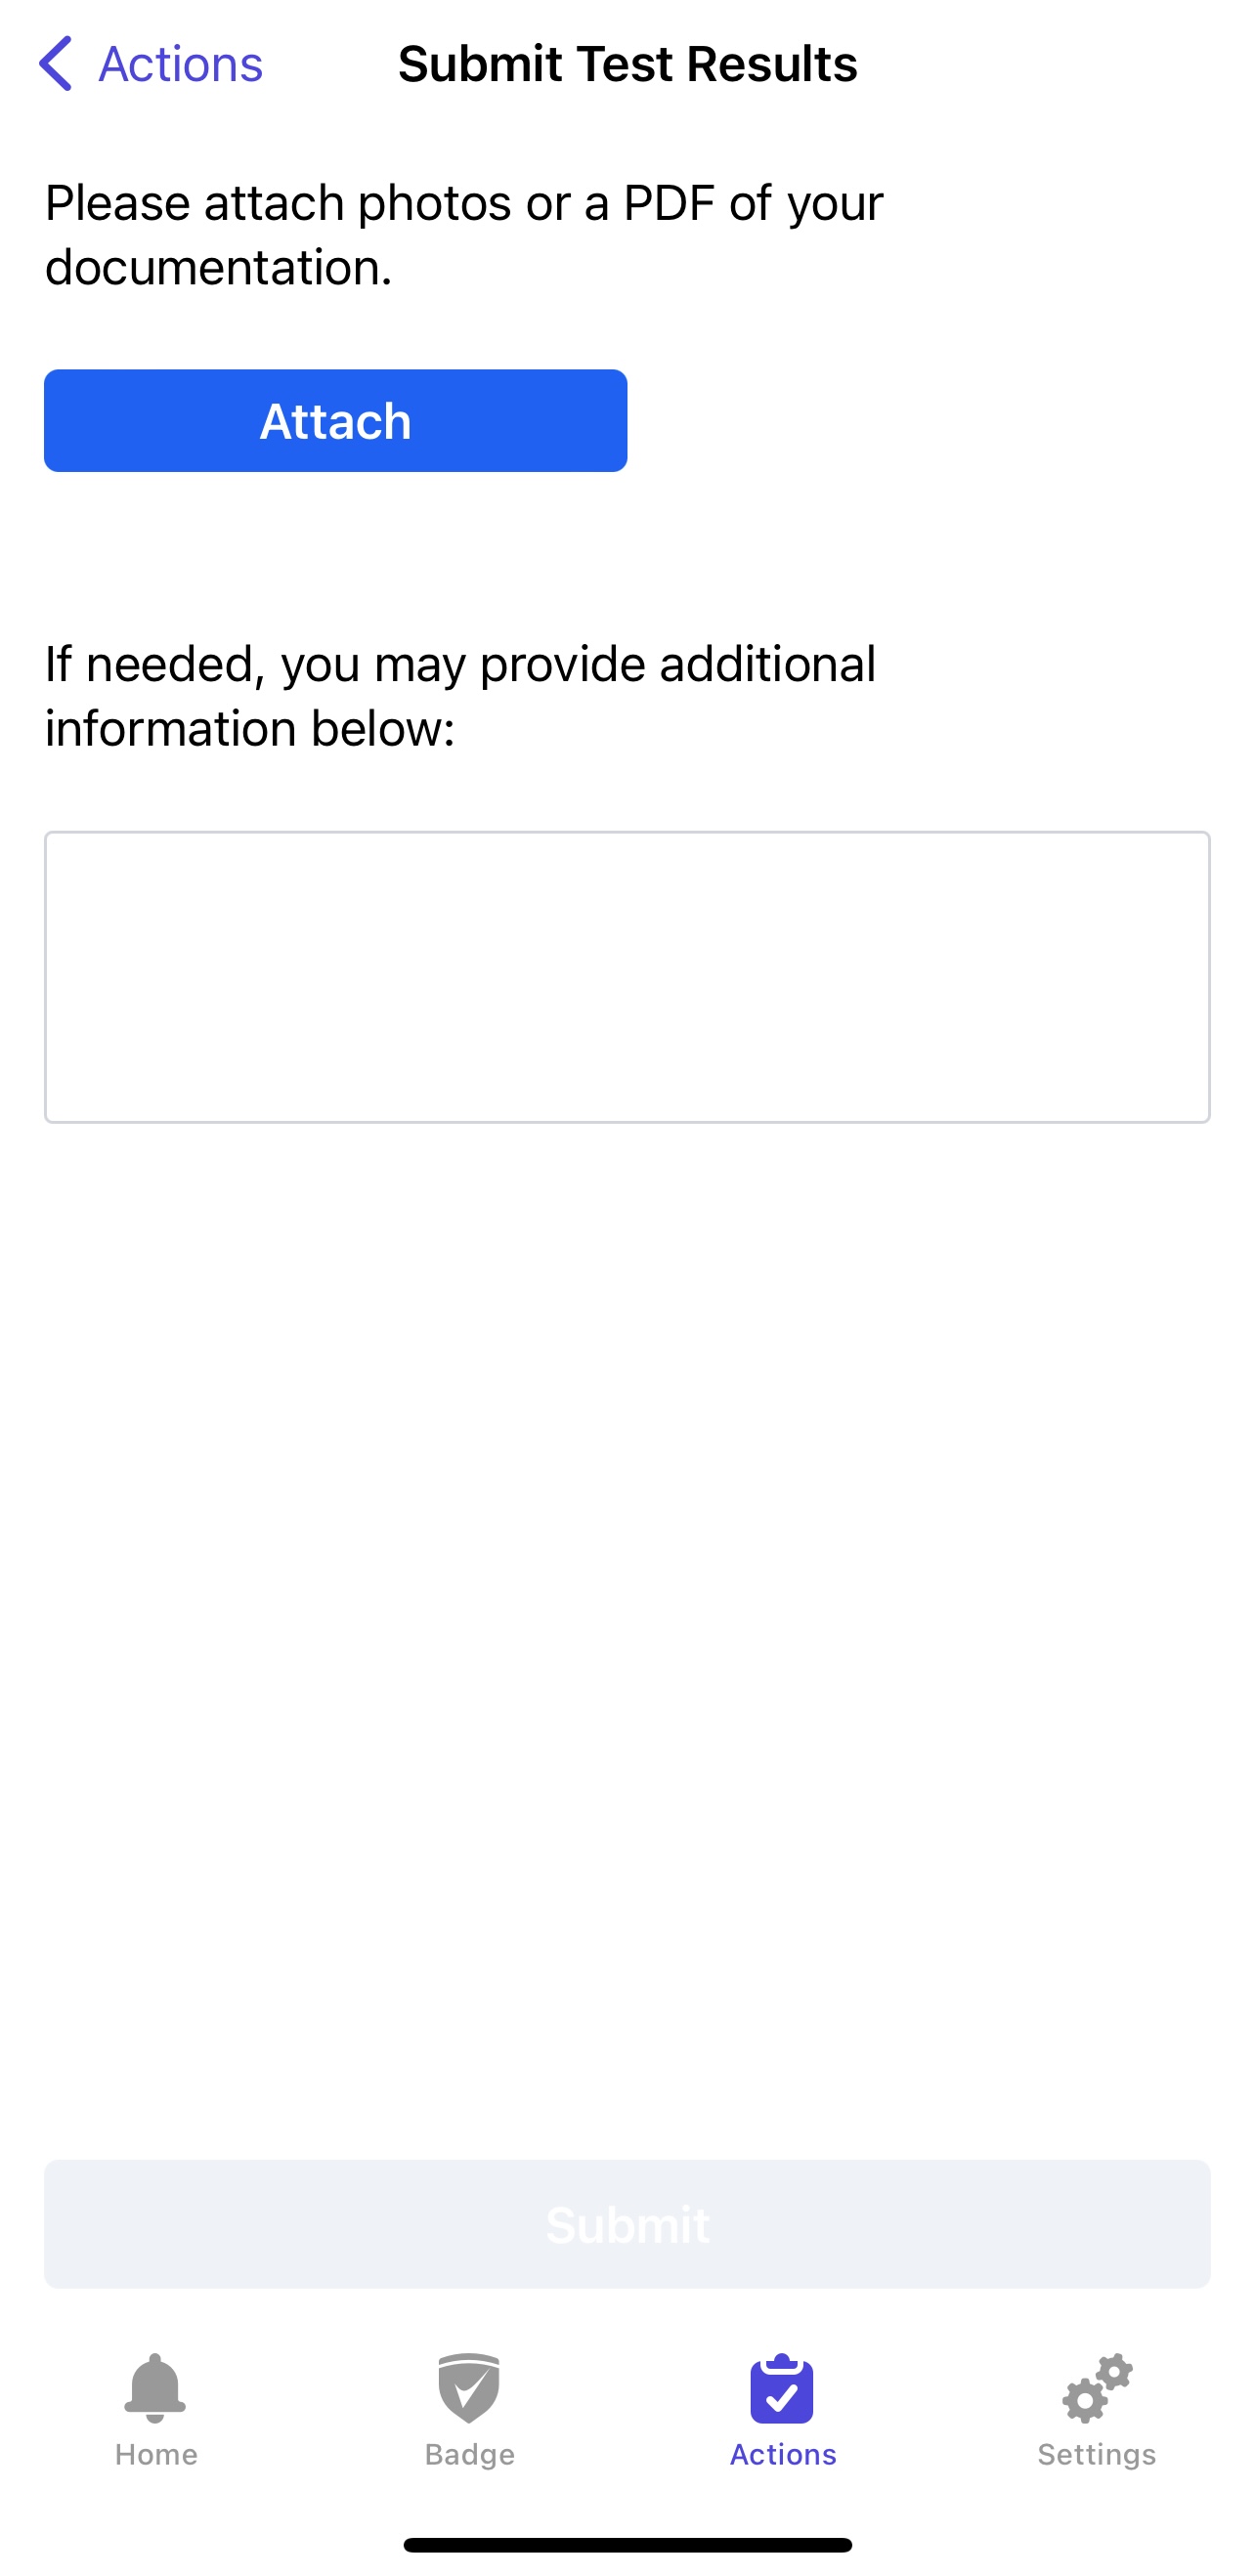
Users can submit their Test Results via the "Actions" tab of their app. After clicking on the Blue "Submit Test Results" button, they will be instructed to select the date the test was taken and attach documentation of their test result, and any additional information.
Note: If a user has multiple organizations linked to their app (i.e. a parent who works and is screening on behalf of their student), they may need to select which organization they are uploading their information to.
After submission, users with the Manage Test Results permission enabled will be able to review the results, via the Your Name > Settings > Test Results.
The user should receive a notification stating that the submission has been sent, and then a notification based on whether the submission was accepted or rejected.
Browser Submission
If users are unable to use the mobile app or would prefer uploading their information from their computer, via a link.
Users with appropriate test result permissions enabled can find the link to send users via Your Name > Settings > Test Results.
After clicking on the link for their Test Result, users will be asked how they would like to identify themselves. We recommend using the email they use to screen. After they enter their email, they will be sent an email to submit their information
If users select "I Know My Employee ID," they will be asked to enter their ID and Last name. Then, users will be prompted to fill in their information.
Either way, they will be prompted to follow the following questionnaire:
First, click "Start Submission" and follow the steps shown below.
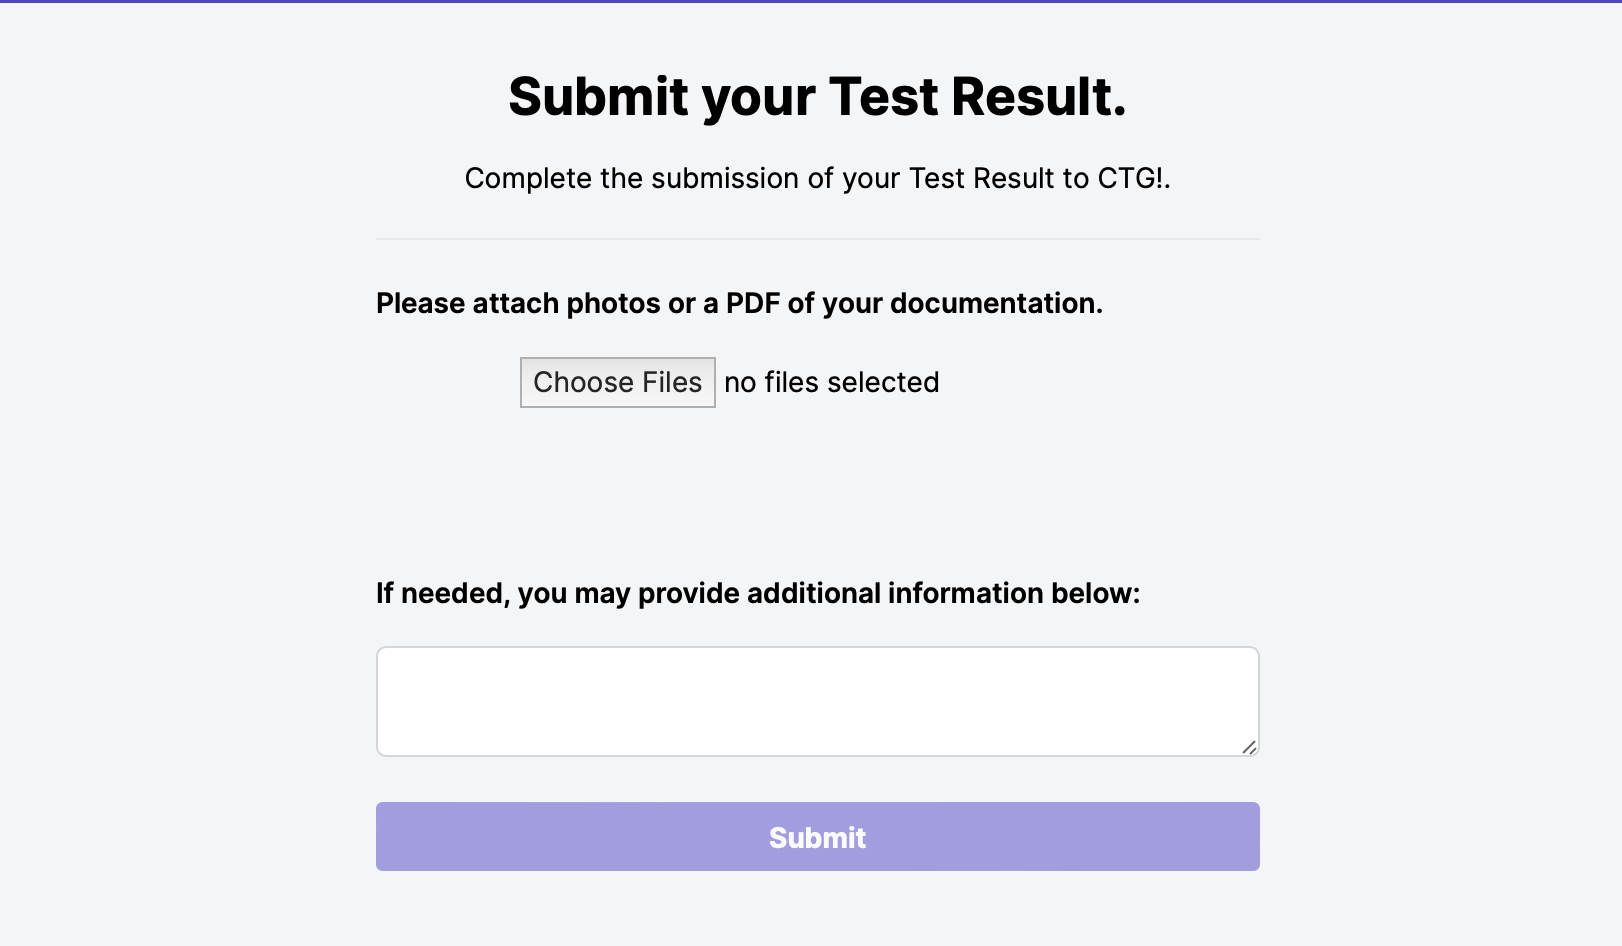
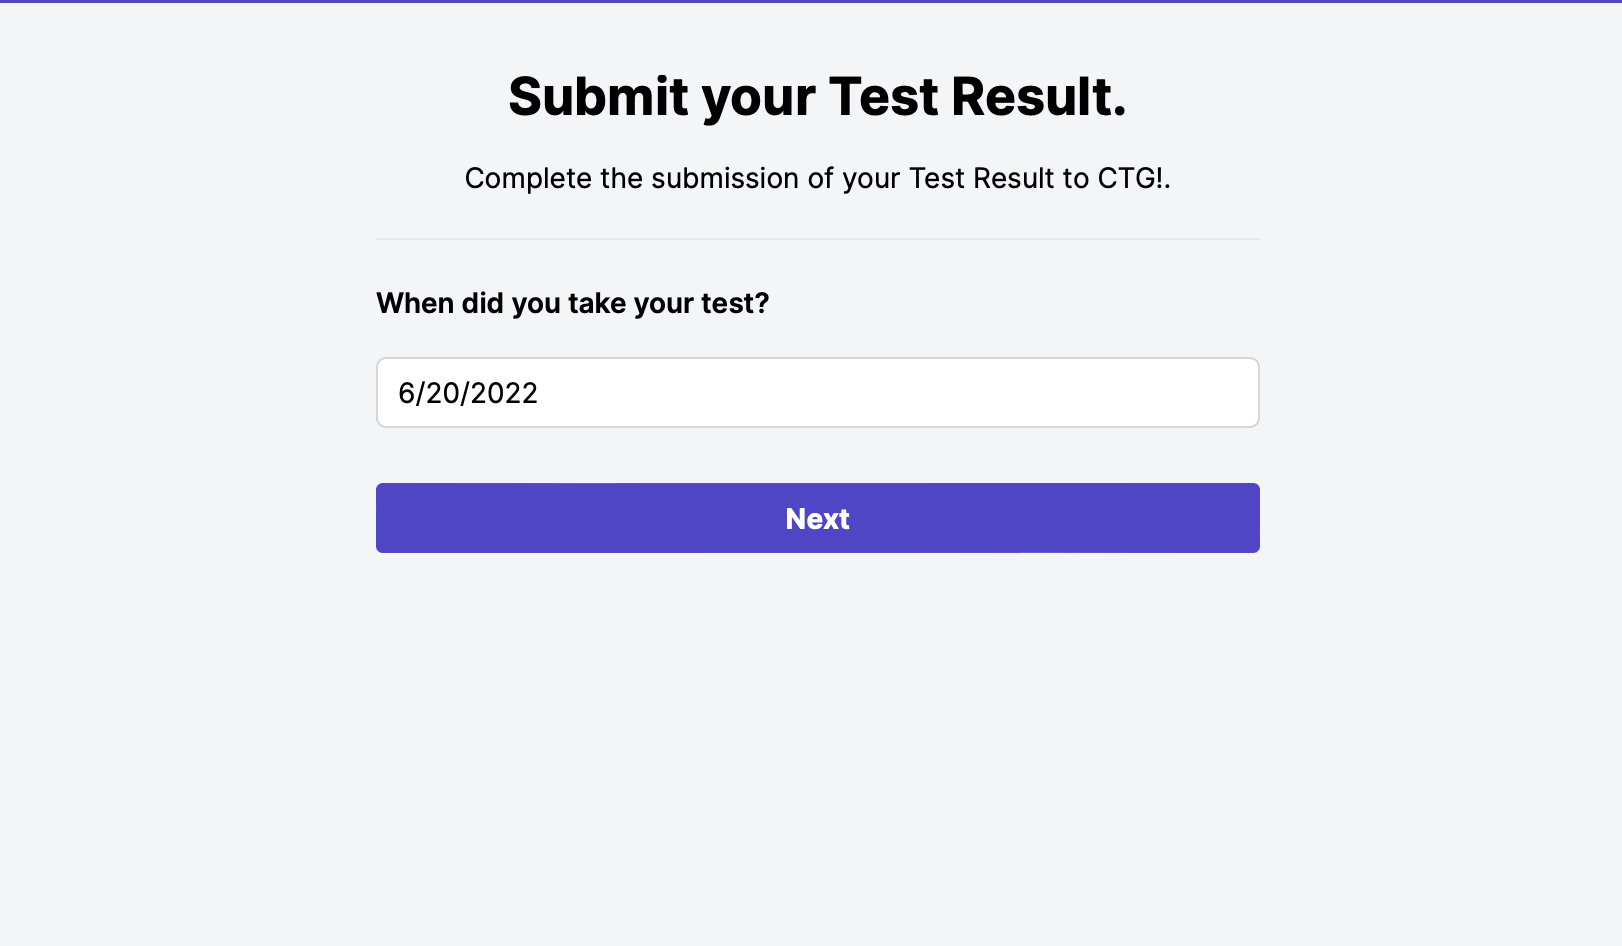
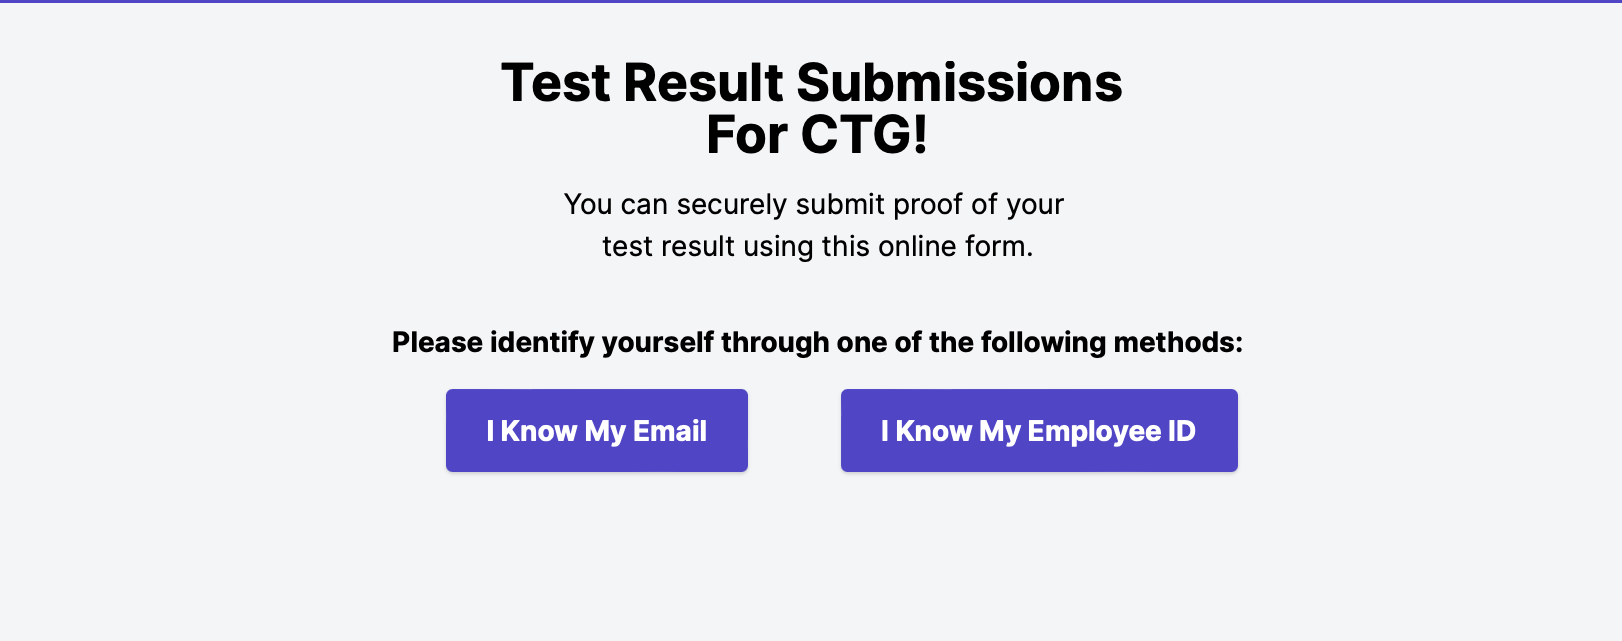
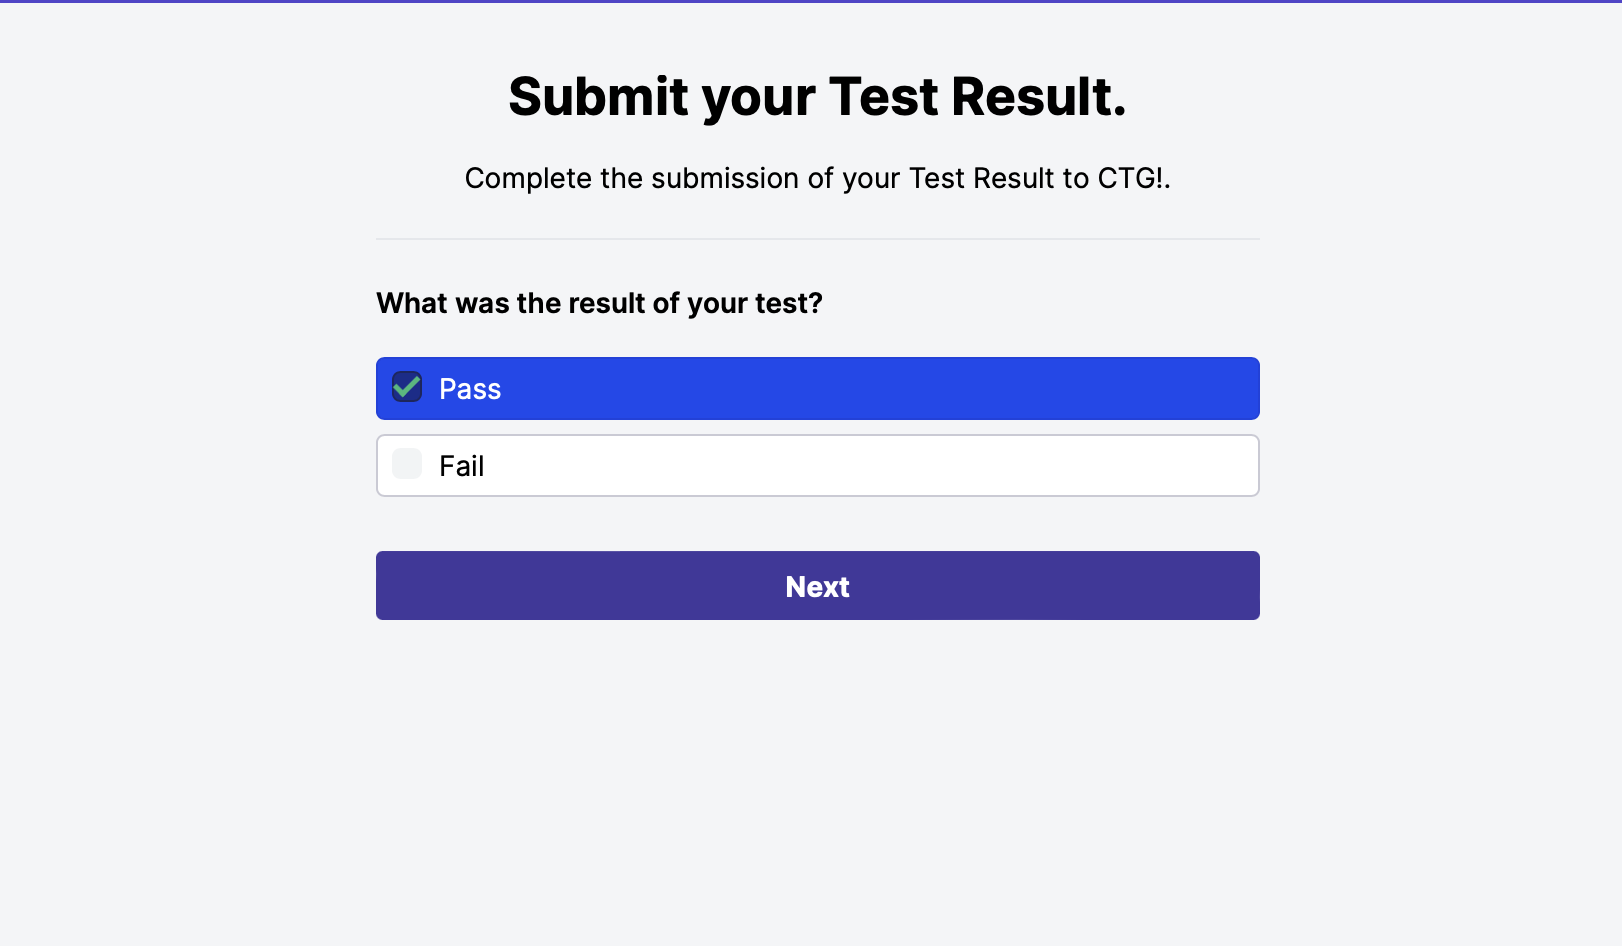
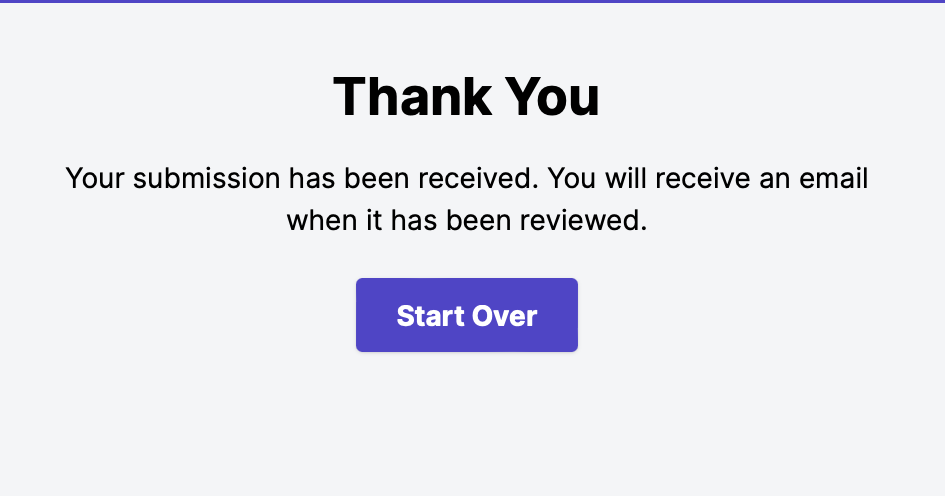
Finally, after clicking "Submit," you'll receive the following message:
Via Illness Reporting
One final way for users with the mobile app to submit a test result is via the Illness Reporting Feature or the Red "I'm Not Feeling Well" button under the "Actions" tab of the mobile app.
Here, users can submit that they received a positive test result, and create a case against them. Managers will also be notified of this, and the user will be marked as non-compliant. This is typically only recommended for users who are going to submit an unwanted test result (i.e. a positive COVID test), and acts as another way for users to submit a failing test result (more on Test Results here).
Manual Submission
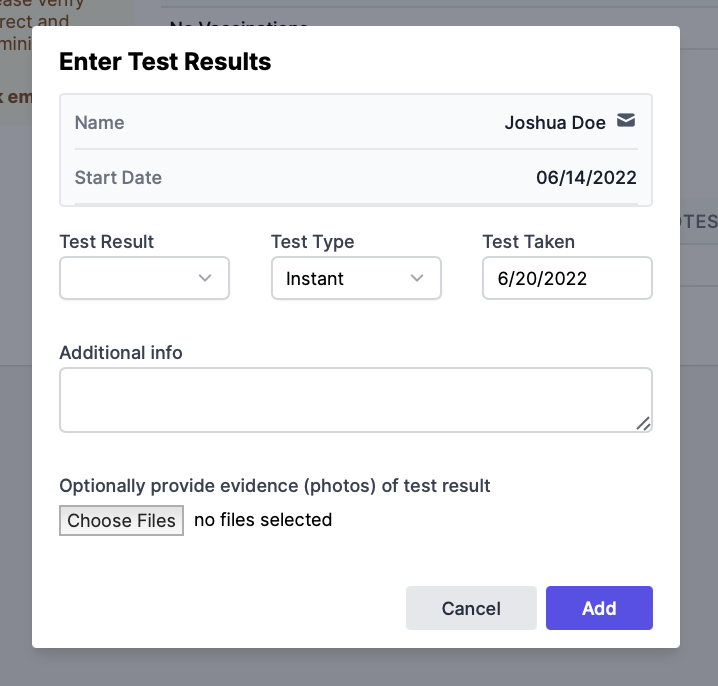
Users with permission to Manage Test Results & Manage Employees, Students, or Contractors can add a test result record by going to Workforce > Employees or Students > Edit on a user > "Health" tab > "Add Test Result."
Then, add the following information:
- Test Result (Pass/Fail)
- Test Type
- Test Taken
- Any additional information
- Documentation
Click "Add" to save.
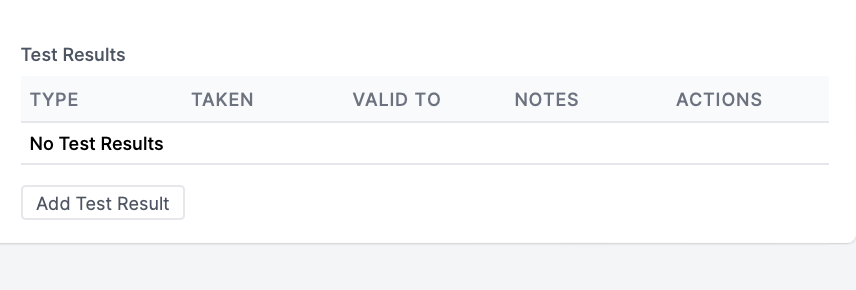
This can be modified by clicking "Edit." To remove a test result, click the X under Actions.
Submission Review
Once Test Results have been submitted by a user, users with the Manage Test Results permission enabled will be able to review and accept or deny a submission, via Your Name > Options > Test Results.
Submissions can be filtered and then viewed by clicking "View."
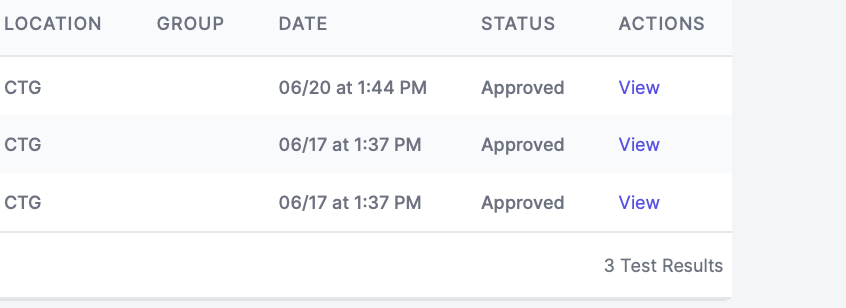
Once the test result has been approved, the user will also receive another push notification 48 hours before the test result expires.
Please Note. The system supports the following file types: png, jpg, jpeg, heic, tiff, pdf, msword, and excel.